Follow-along as we replace the front Marker Lights on our 2018 Ram ProMaster based Pleasure-Way Lexor TS Camper Van.
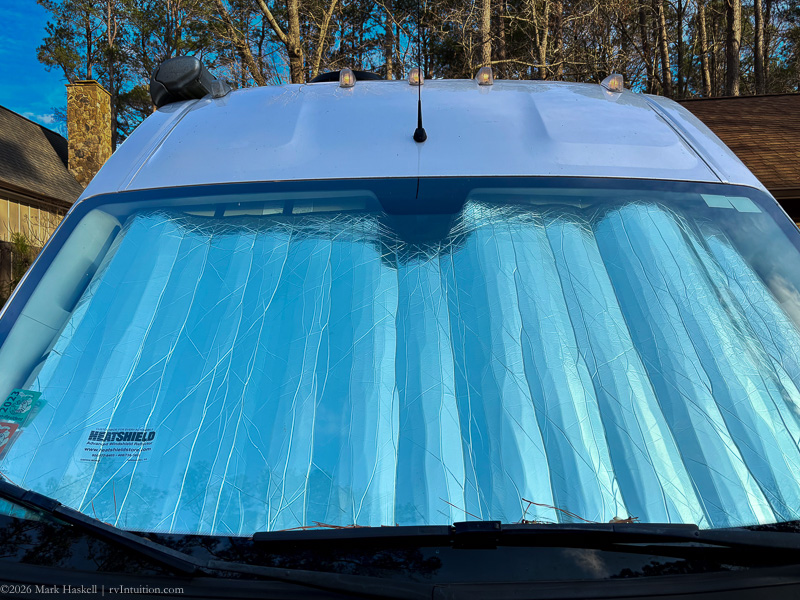
After seven years, a passenger side marker light (1 of the 5 across the top of the van) burned out, so we investigated how to fix it. It’s close to the awning if you can’t spot it.
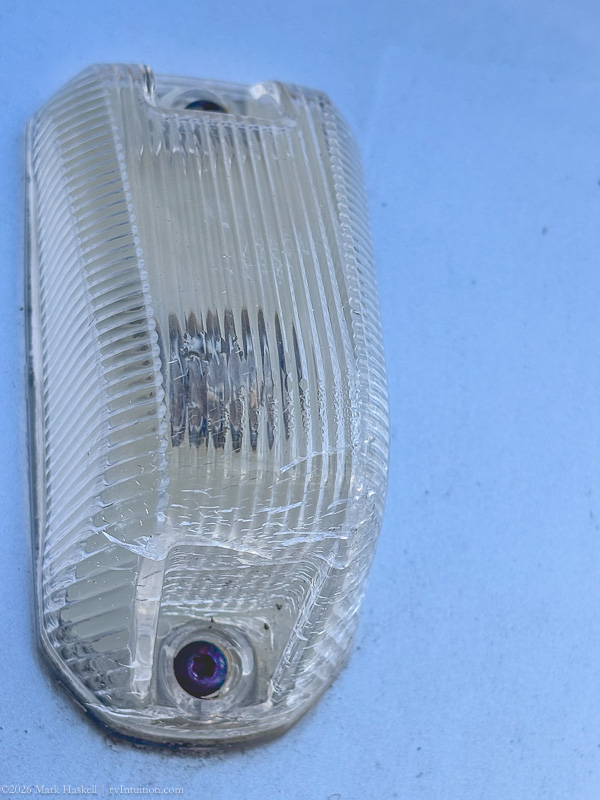
There are two screws that hold each marker light in place. Note that the housing has lots of cracks that weren’t visible until we got close.
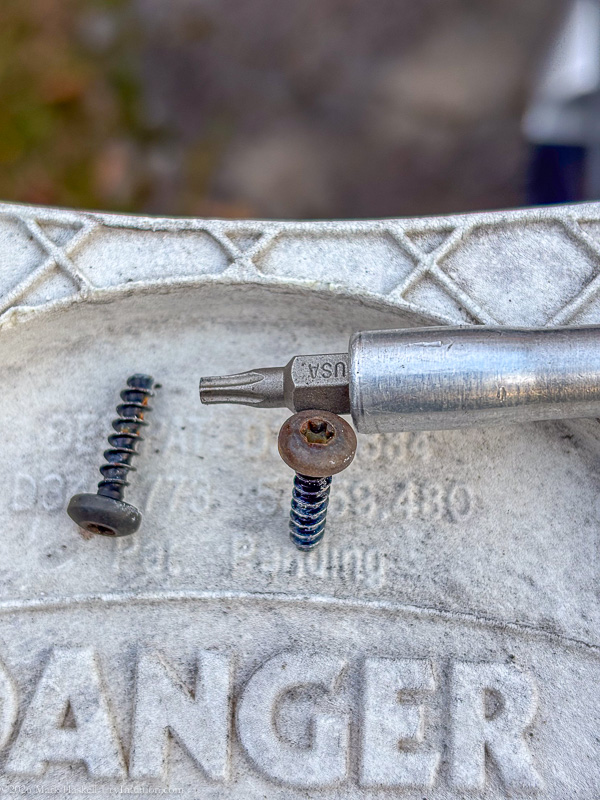

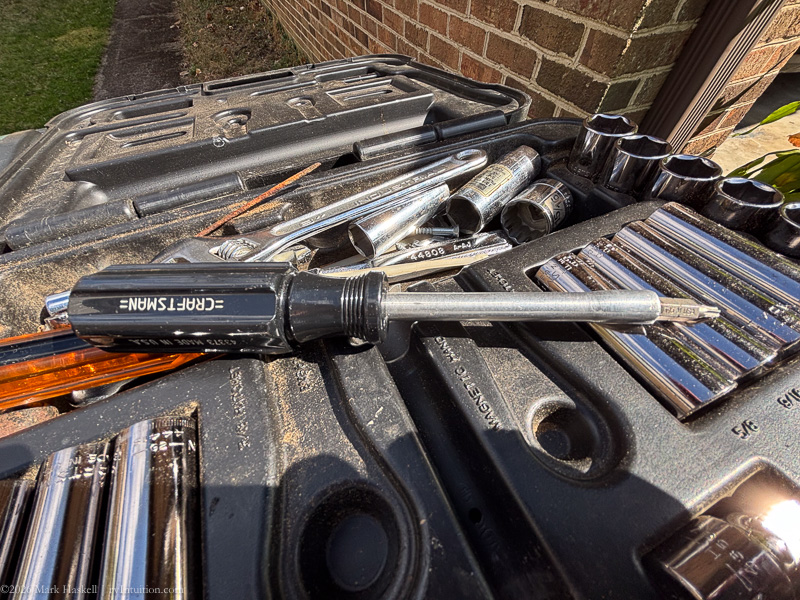
A T15 bit fits.The screws were easy to undo by hand. Don’t forget to save them.

With the screws removed, the unit lifted free from the van.
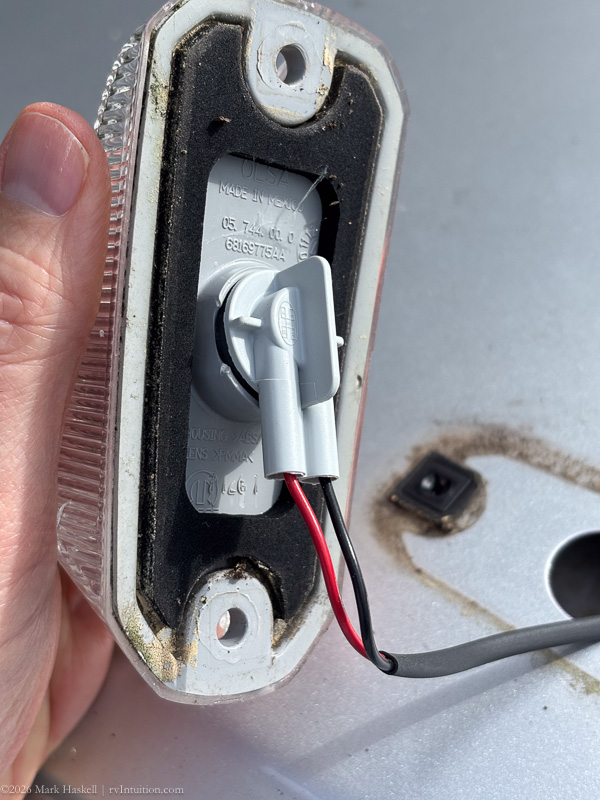
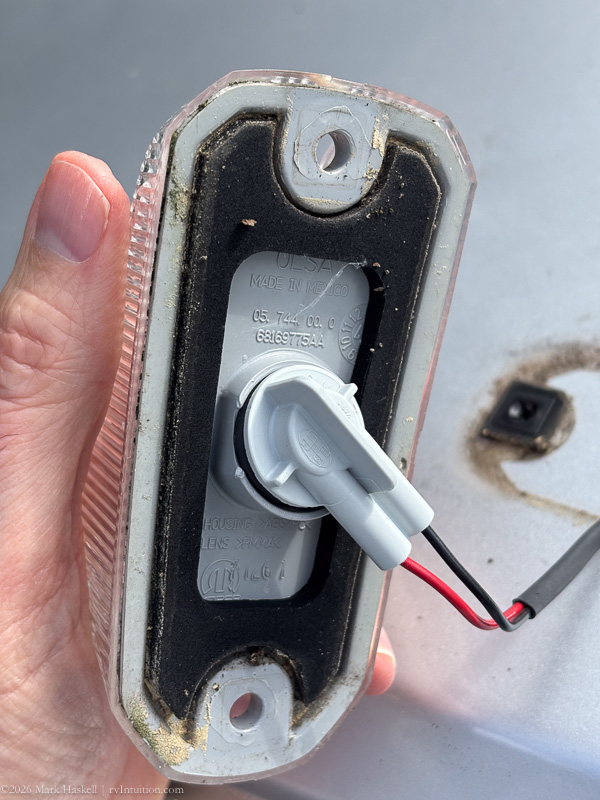
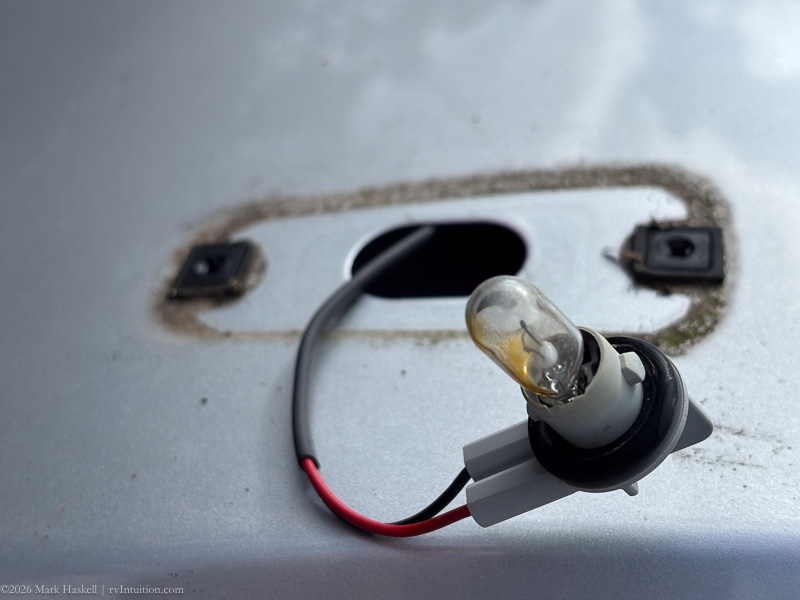
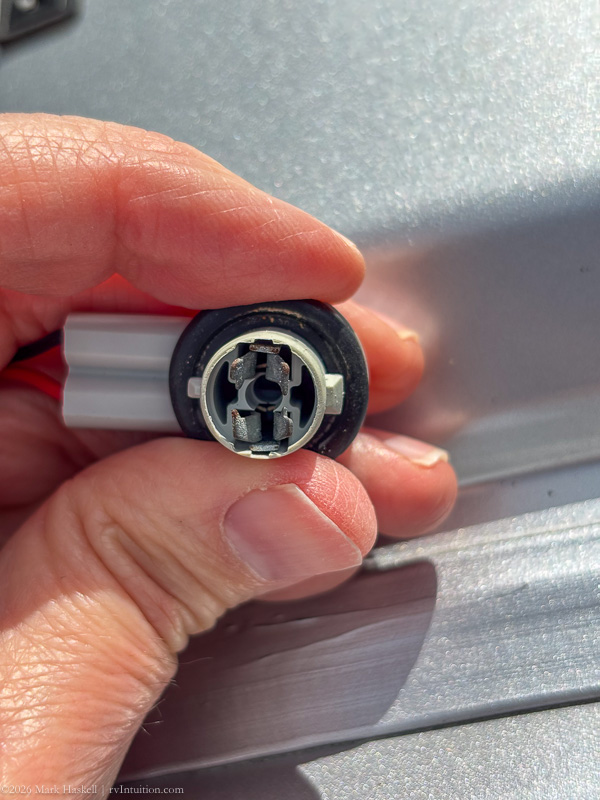
The light could then be removed by turning the wiring base counter-clockwise to release it from the cover.
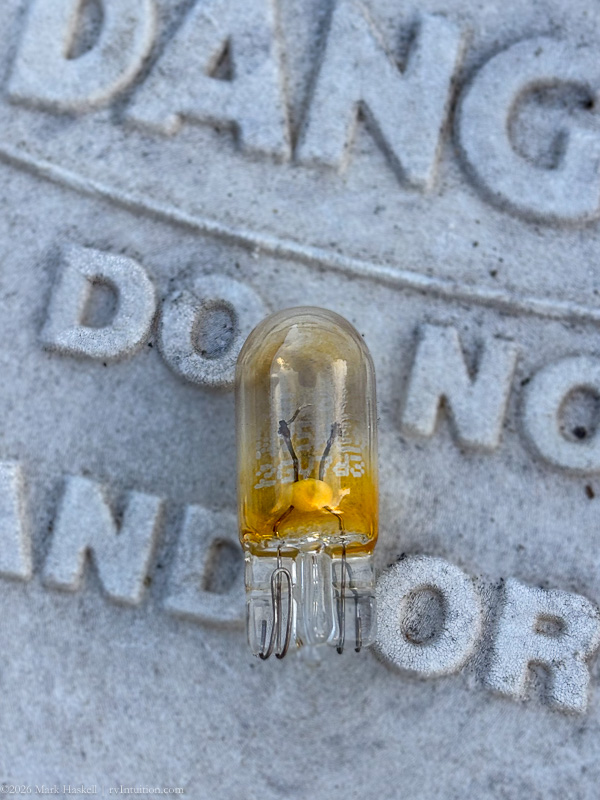
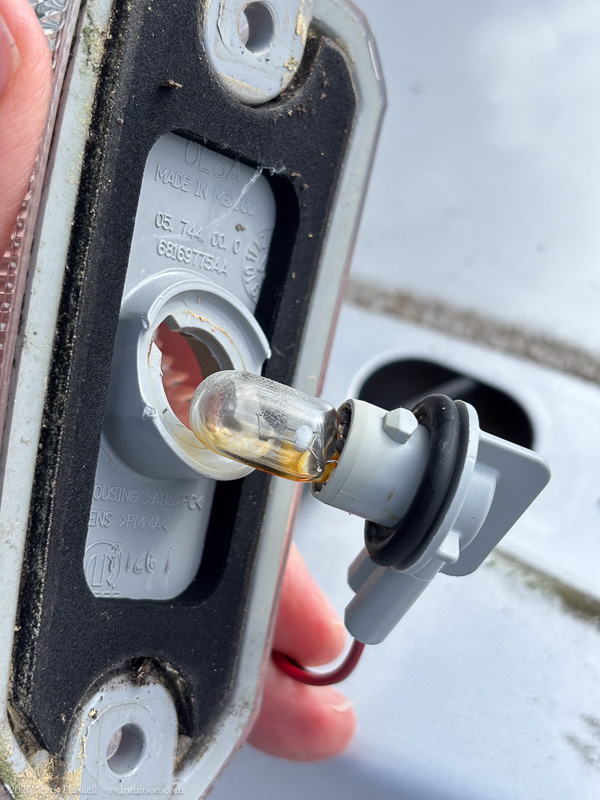
The bulb is a spade mount and pulls straight out. Sure enough, the filament in the bulb was burnt out.
Since the van is almost eight years old, we decided to replace the entire fixture with a new LED unit. Our thinking is the new ones should be less prone to failure and the new fixtures will have new foam gaskets, so those will help prevent water intrusion.
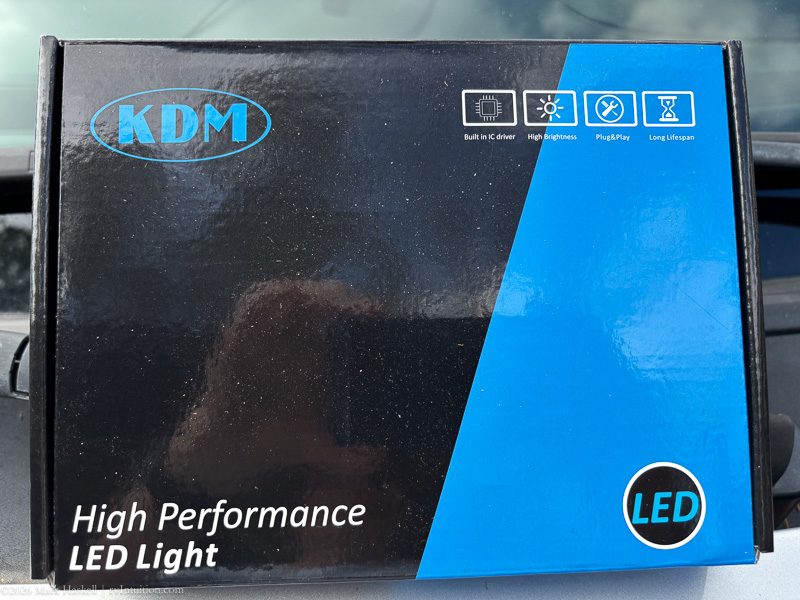
These are the ones we chose based on feedback from members of a ProMaster Forum. We do not have any connection to the company and don’t receive compensation if you purchase them.
Amazon is one source: KDM Clearance Lights. The set of 5 lights was $44 in March of 2026.
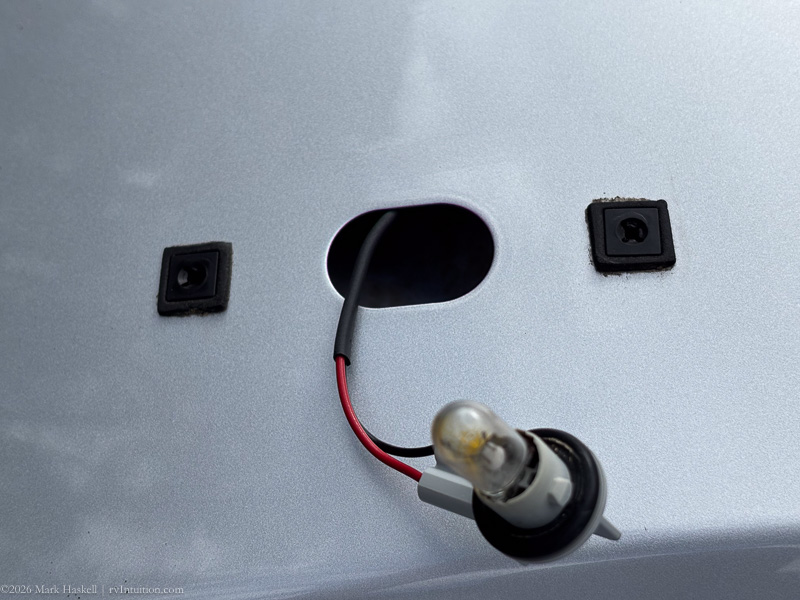
While the marker light was removed, I took the opportunity to thoroughly clean around the base. I was careful to keep the wiring harness from dropping through the hole!
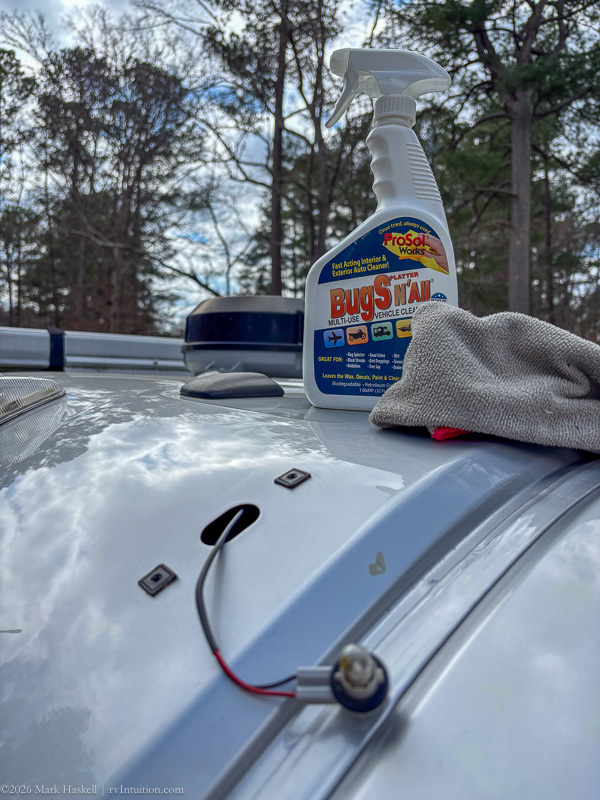
We’ve had good success using Bugs N’ All as a cleaner. Learned about it from my brother-in-law, Gary Hayes.
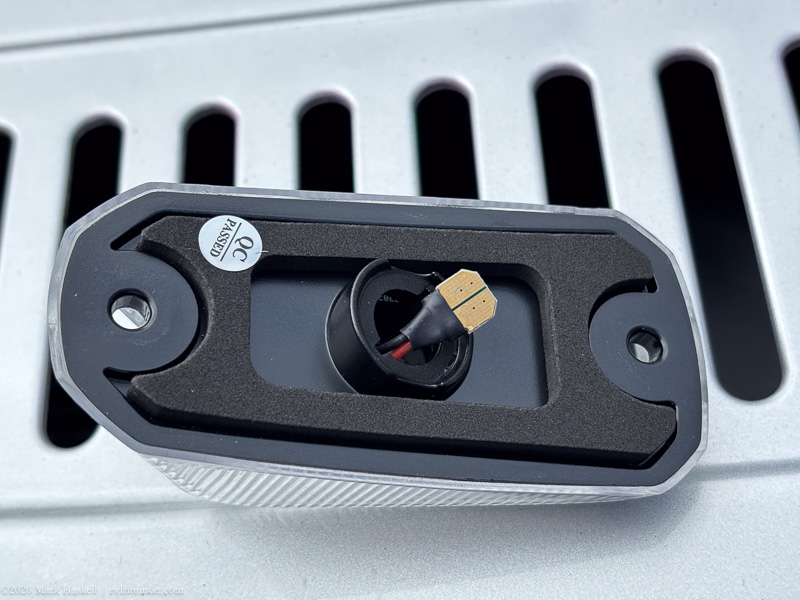
The new assembly comes with a plug that attaches where a traditional bulb would. It was designed so polarity doesn’t matter.
The new led fixture will plug into this slot that held the lightbulb.
Note that there are two pins that align the plug to the hole in the fixture. One is larger than the other, so keep that in mind after after you get the bulb plugged in.

Plugging the new fixture into the bulb socket is the hardest part of the entire procedure. I wish the fixture had a little longer wire lead.
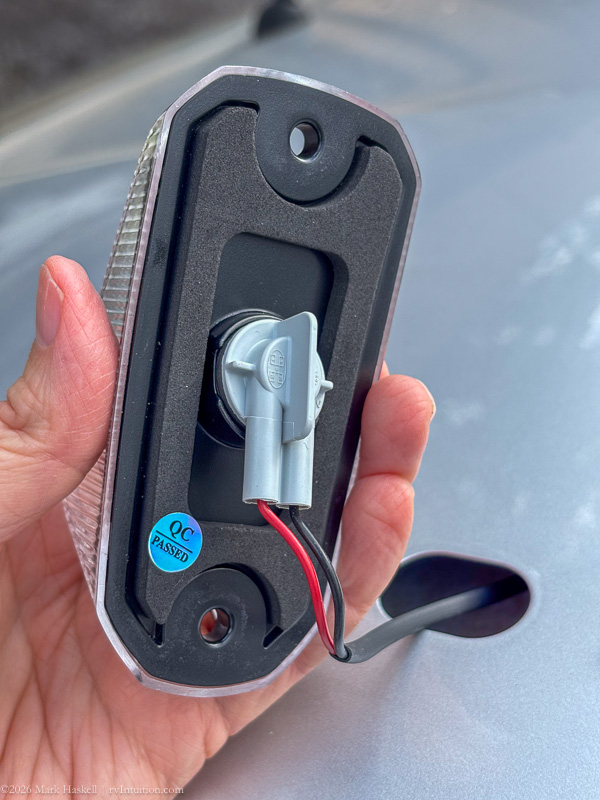
Align the tabs, push the plug back in, and turn the plug clockwise to lock it. Here it is, all plugged in.
The new light assembly attaches with the same two screws (you did save them right?) that held the OEM marker lights.
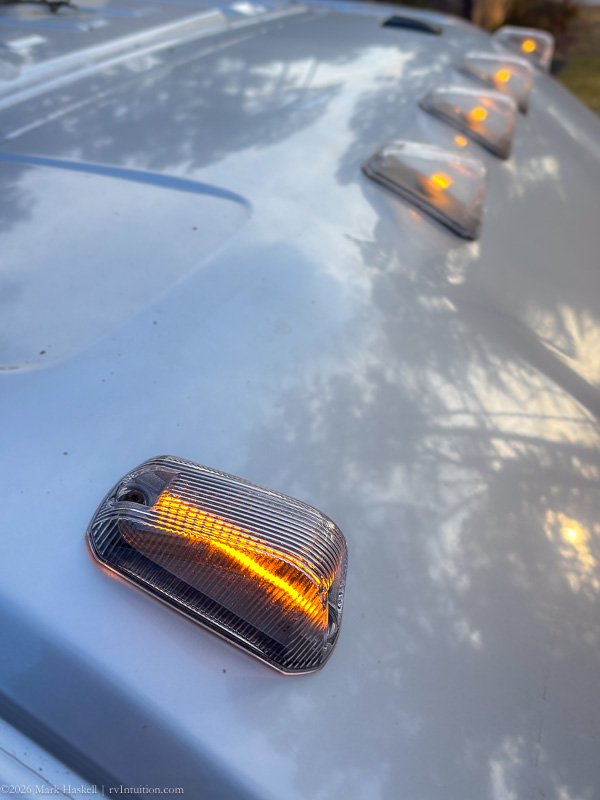
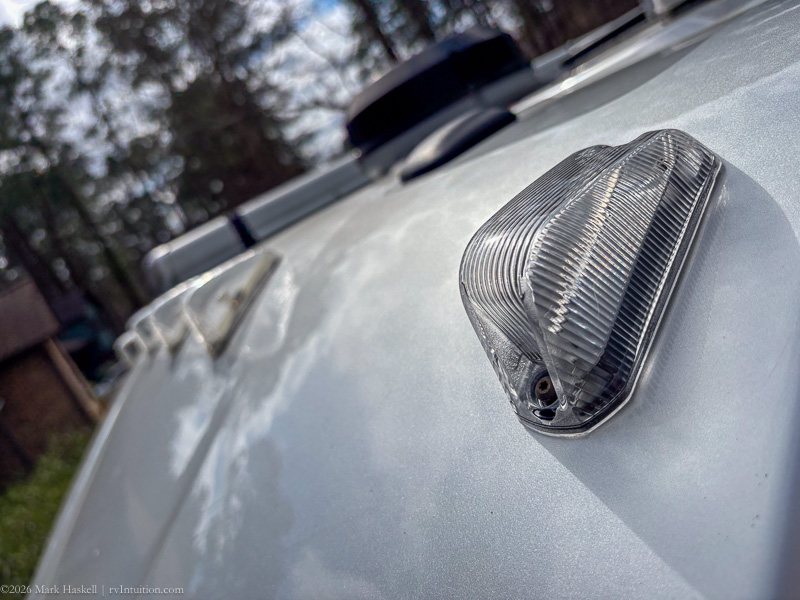
Much brighter than the original, the new light looks good! We decided to go ahead and preventively replace the other four.
Access notes:
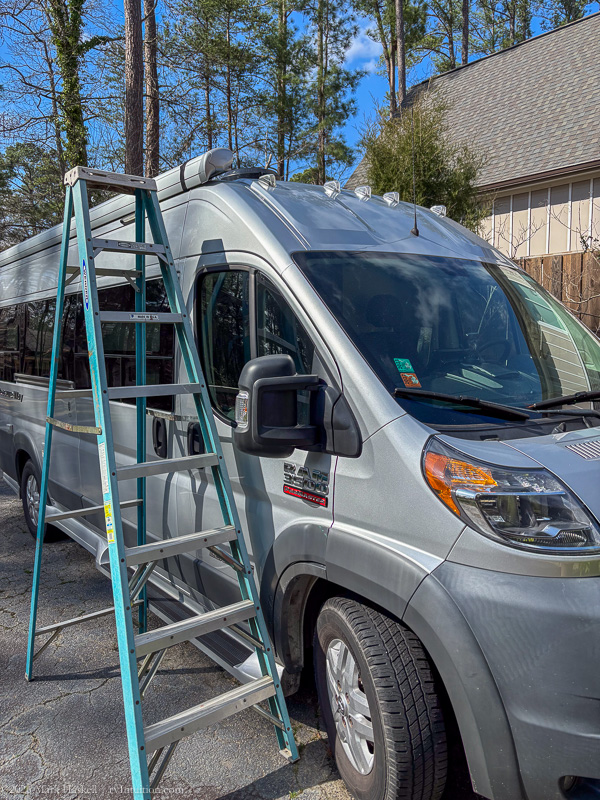
The four outside lights were reachable from our stepladder.
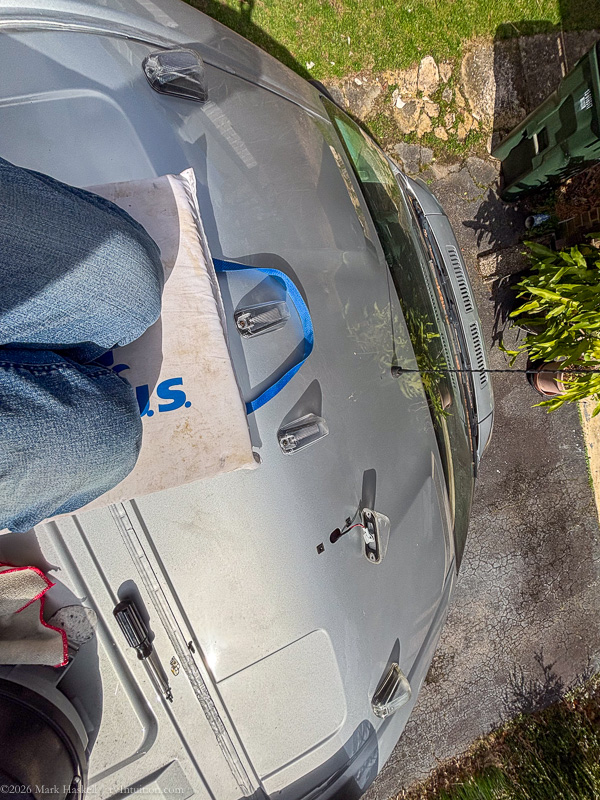
For the center light, I had to climb on the roof. A throwable life cushion helped to distribute my kneeling weight to avoid denting the van. You should probably be more careful than I was!
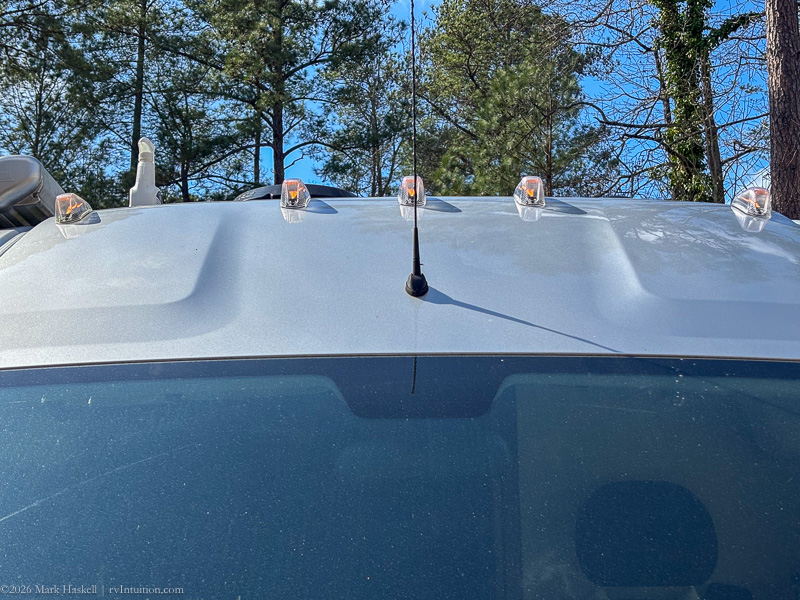
All done and visible even in the bright North Carolina sunshine.
Hopefully, this will make it easier for other owners.
Leave a Reply