Since meeting a road gator on our way to Florida, we needed to make some repairs. Click to Bit by a Road Gator if you missed what happened.
Today’s post details how we fixed plumbing issues while camping over the Thanksgiving holiday. Follow along as we, with the help of friends and relatives, learn how to work with PEX for the first time. You can click on any link in the contents to jump to that section of today’s post.
Contents
- Short-term Fix
- Replacing the Fresh Water Tank Outlet
- Replacing the Low Point Drain Pipe
- PEX Tools and Parts
- Removing the Old Pipe
- Attaching the New Pipe
- The Repair Crew
Short-term Fix
Since we had lost the connection from our fresh water tank to the pump and one low point drain pipe was broken, we decided to try and bypass both of those.
First, we cut the rest of the blue PEX pipe off where it had broken.
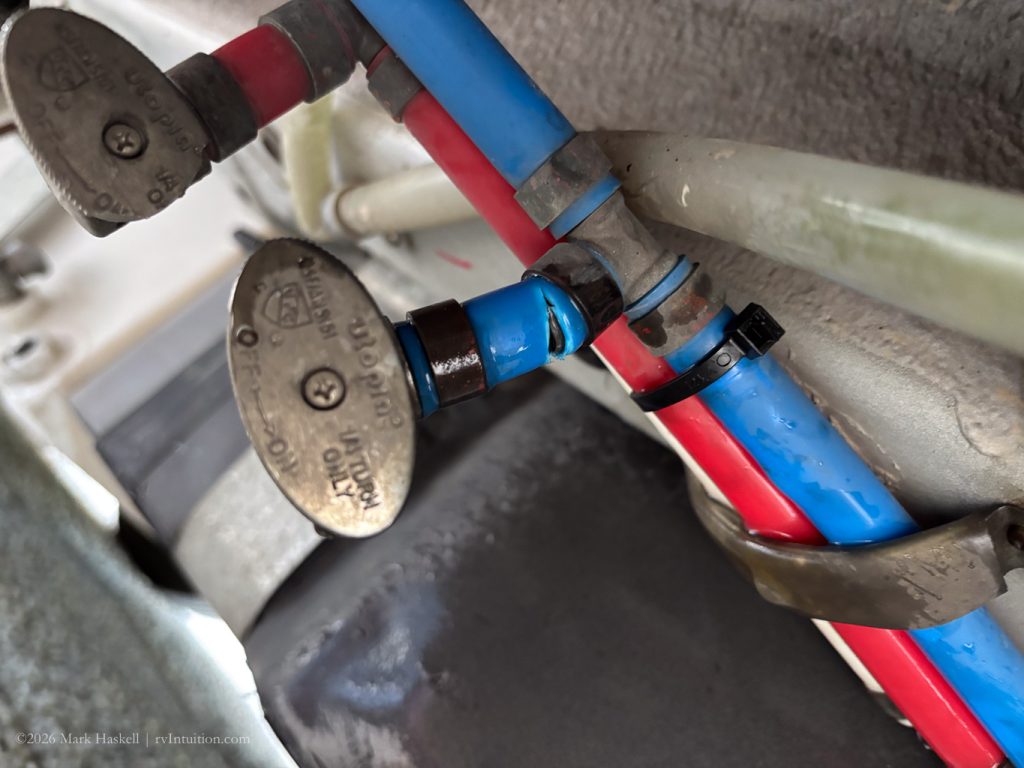
Then we connected the water tank outlet hose to the blue low point drain.
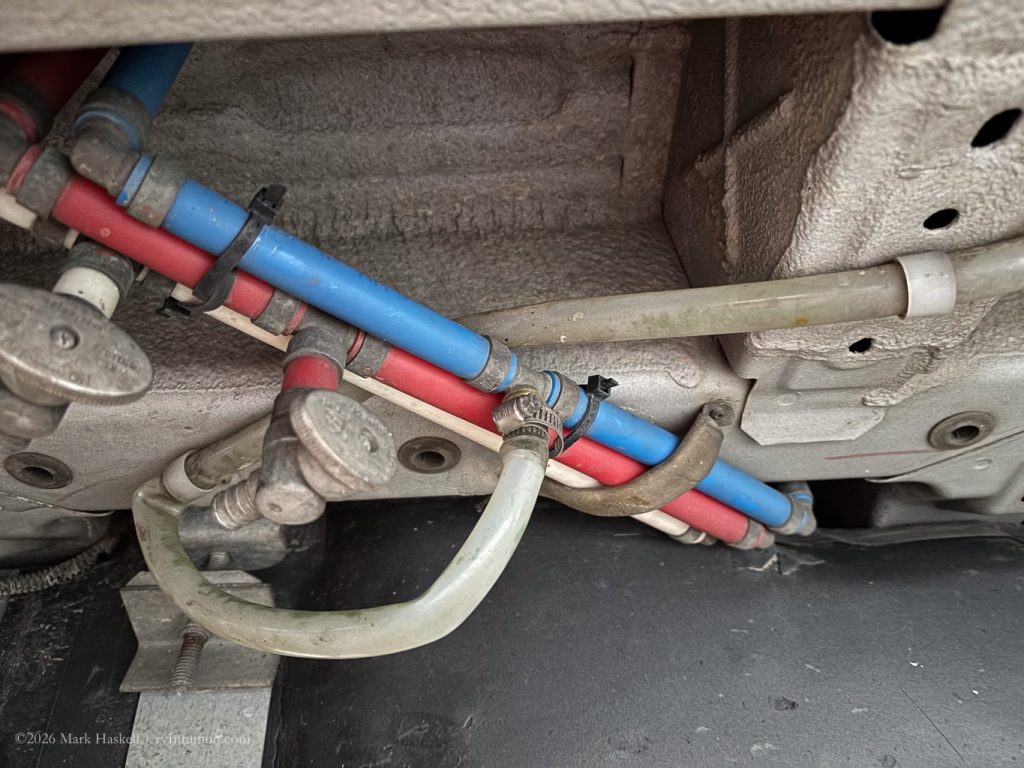
This bypassed both of the leaks in the fresh water system.
We crossed our fingers for luck and hooked up to the campground fresh water. There was a slow drip from the connection to the blue line, but it worked well enough to provide water on a temporary basis. In case you were wondering, we did used a pressure regulator between the van and the water pedestal to protect our plumbing.
Over the next few days we tackled permanent repairs.
Replacing the Fresh Water Tank Outlet Fitting
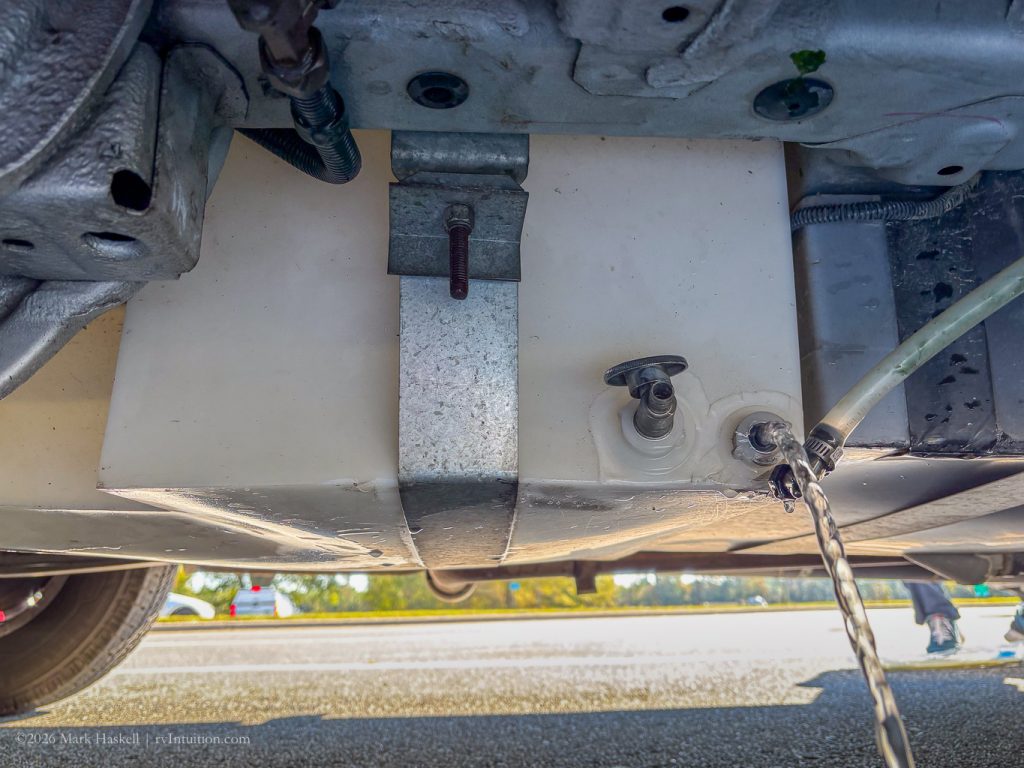
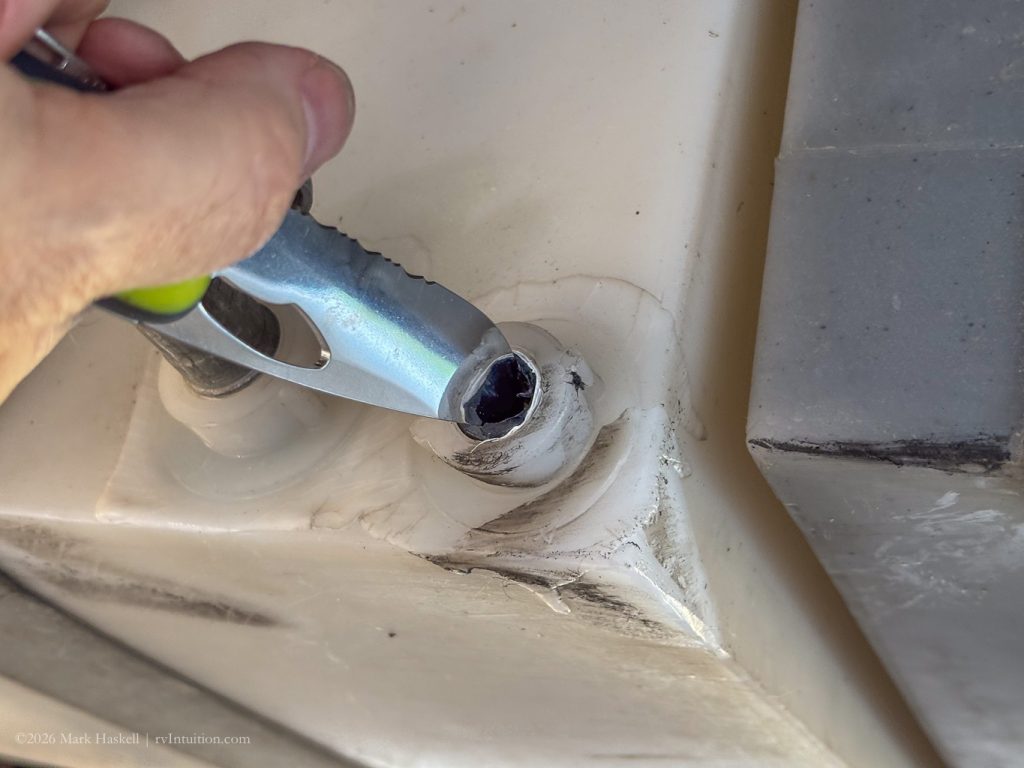
Since the fitting in the bottom right corner of the tank had snapped off, we had to find a way to get the remainder out. This is where the hose that feeds the fresh water pump attaches.
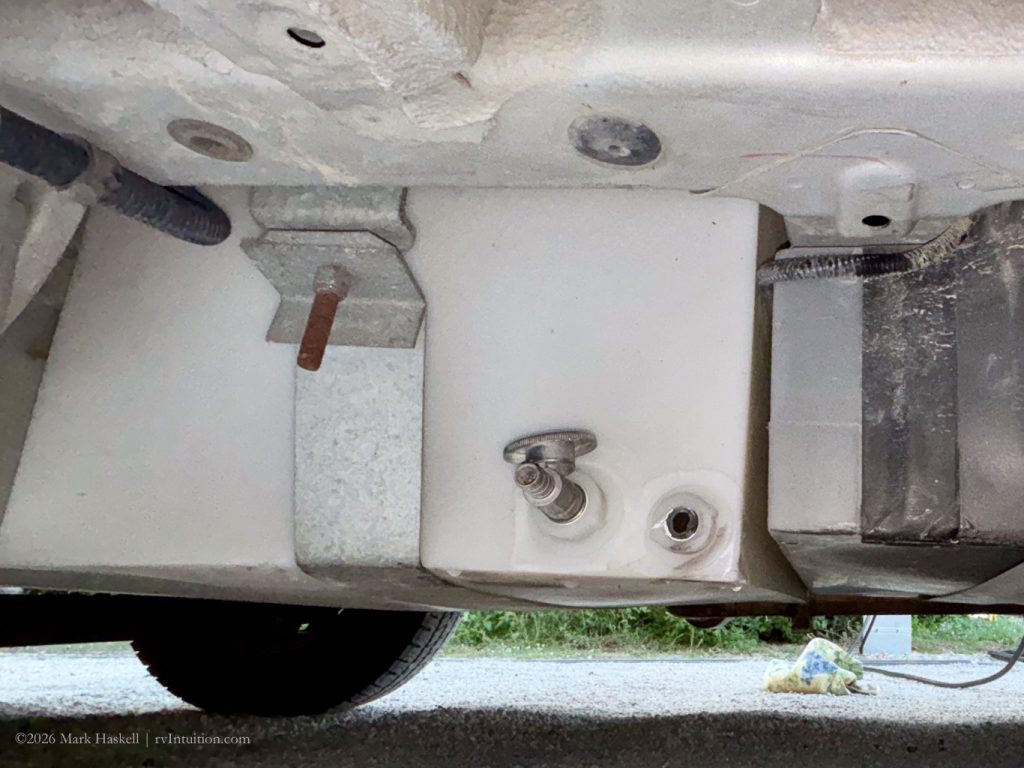
Found my favorite rigging knife and used just enough pressure to grip into the nylon fitting. Turning counter-clockwise, the fitting unscrewed nicely.
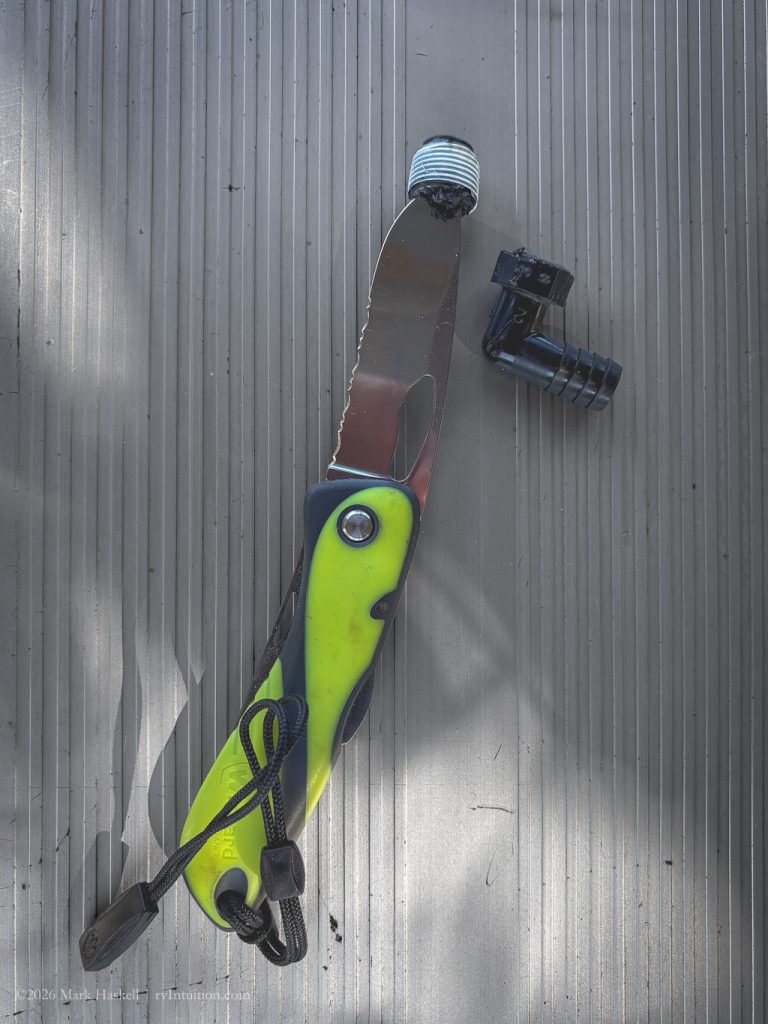
Below are the two halves of the elbow fitting.
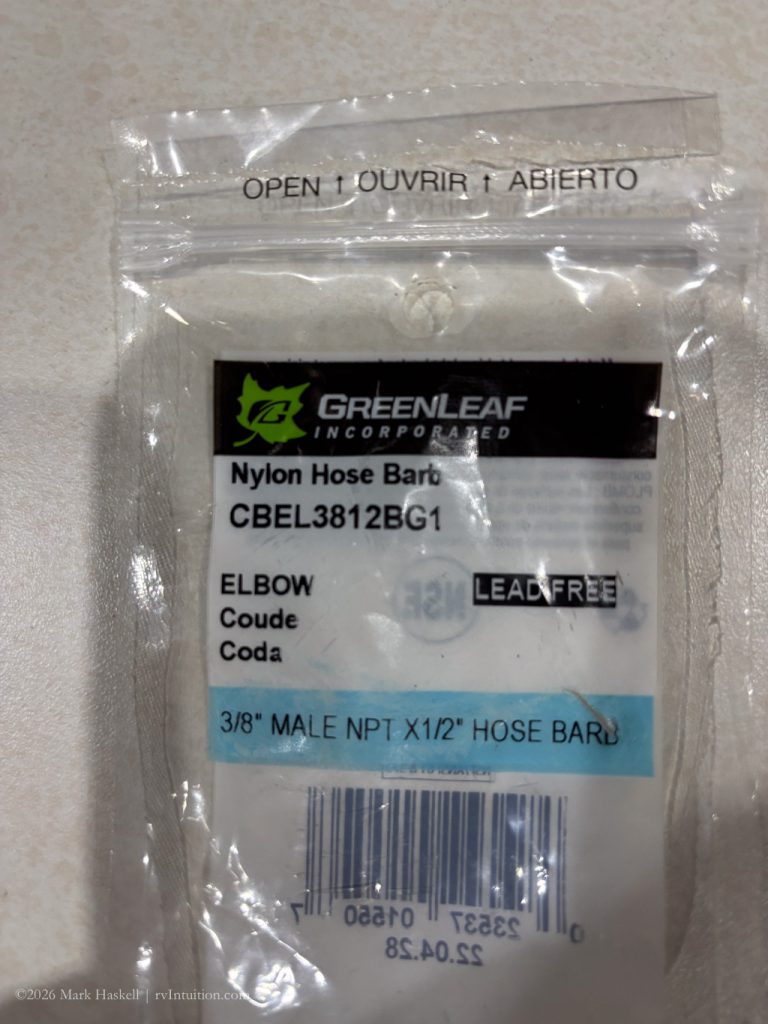
We purchased a new Nylon Hose Barb at Ace Hardware
Beth added plumbers tape around the new fixture and it easily screwed (clockwise) into the tank.
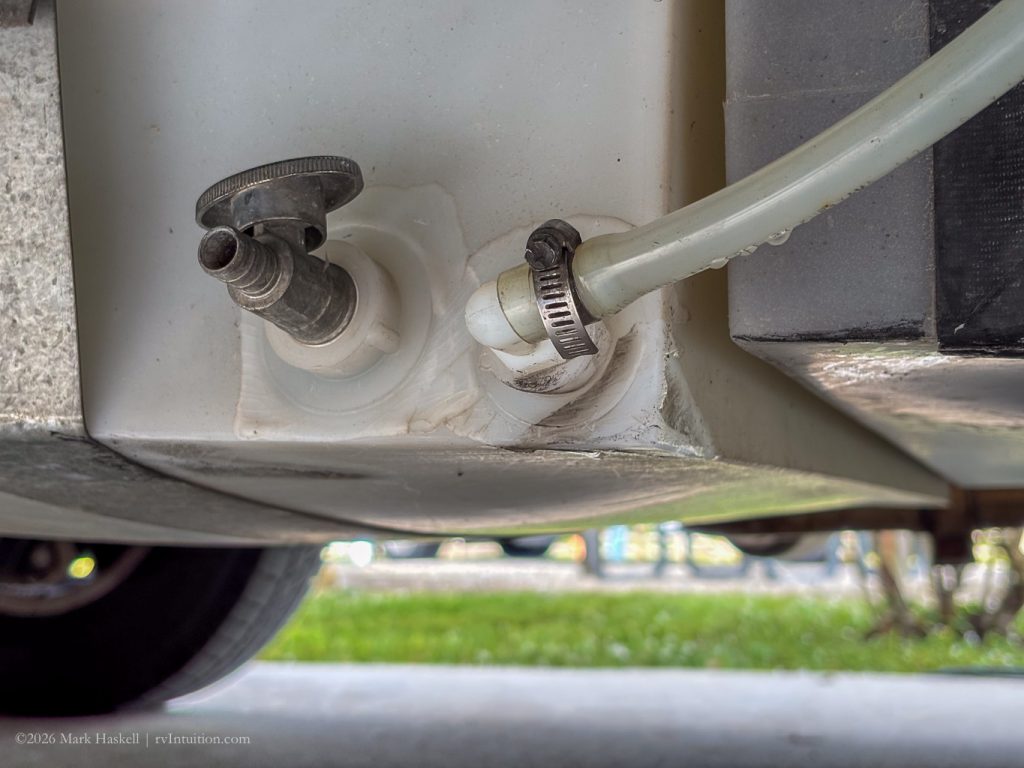
Below is a picture after we reattached the hose from tank to pump using the original hose clamp. The only difference in the fitting is a color change from black to white.
Replacing the Low Point Drain
Learning to Work with PEX
Tools & Parts
Visited West Marine, Ace Hardware, Lowes, Amazon, and Home Depot looking for tools and parts. Amazon and Home Depot had the best selections.
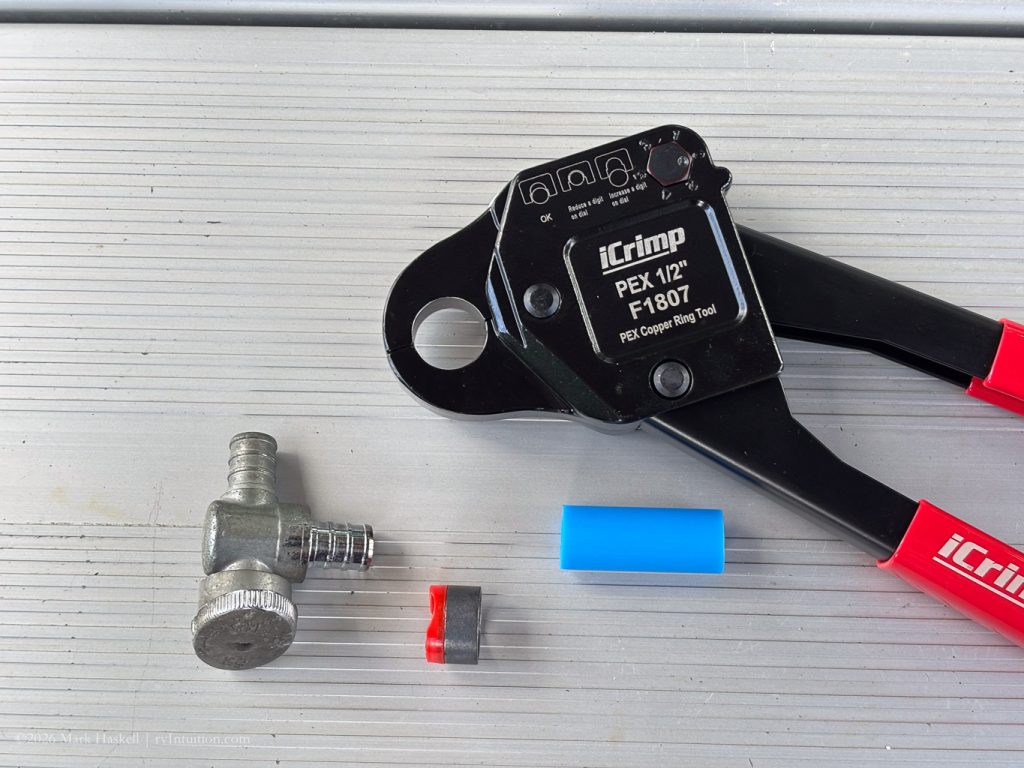
Ordered this iCrimp tool from Amazon to crimp the new pipe. It is angled, so I thought it would be easier to fit in the limited space under the van.
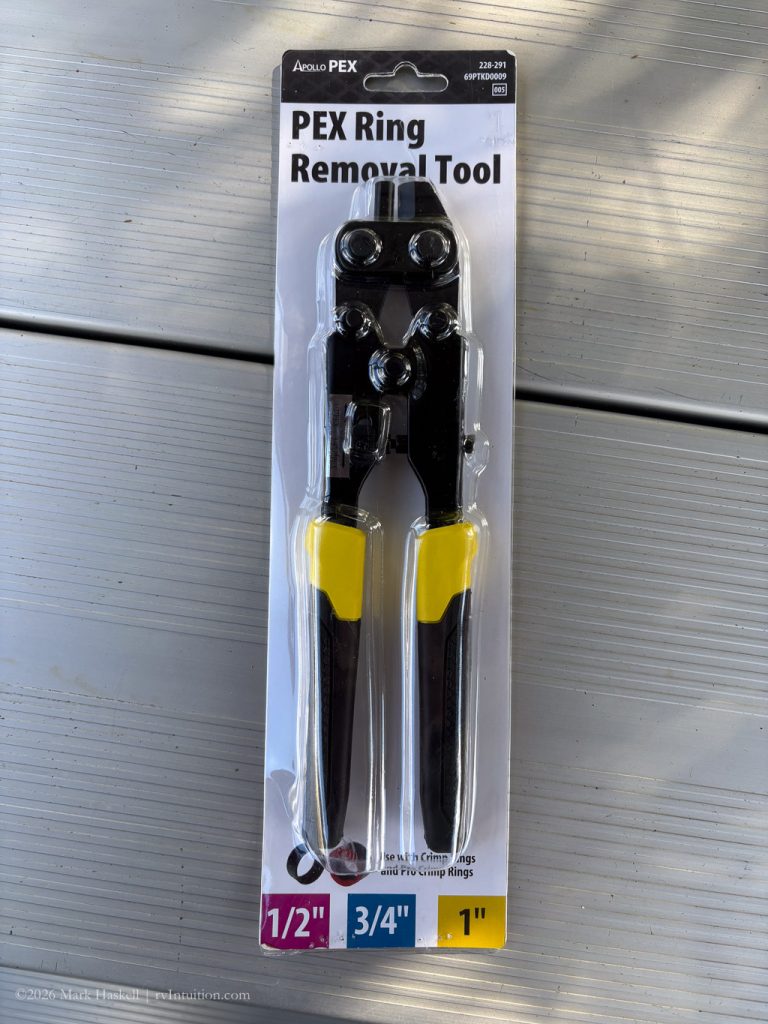
These are special cutters to remove the old crimp rings. Found them at Home Depot.
I thought about just using a knife to cut the pipe, but this Husky Flexible Tube Cutter made it easy to make straight, even cuts.
While at Home Depot we also picked up a ten pack of 1/2″ PEX Copper Crimp Rings and the shortest section of 1/2″ Blue PEX Tubing we could find. It was five feet long, so we have extra!
Making the Repair
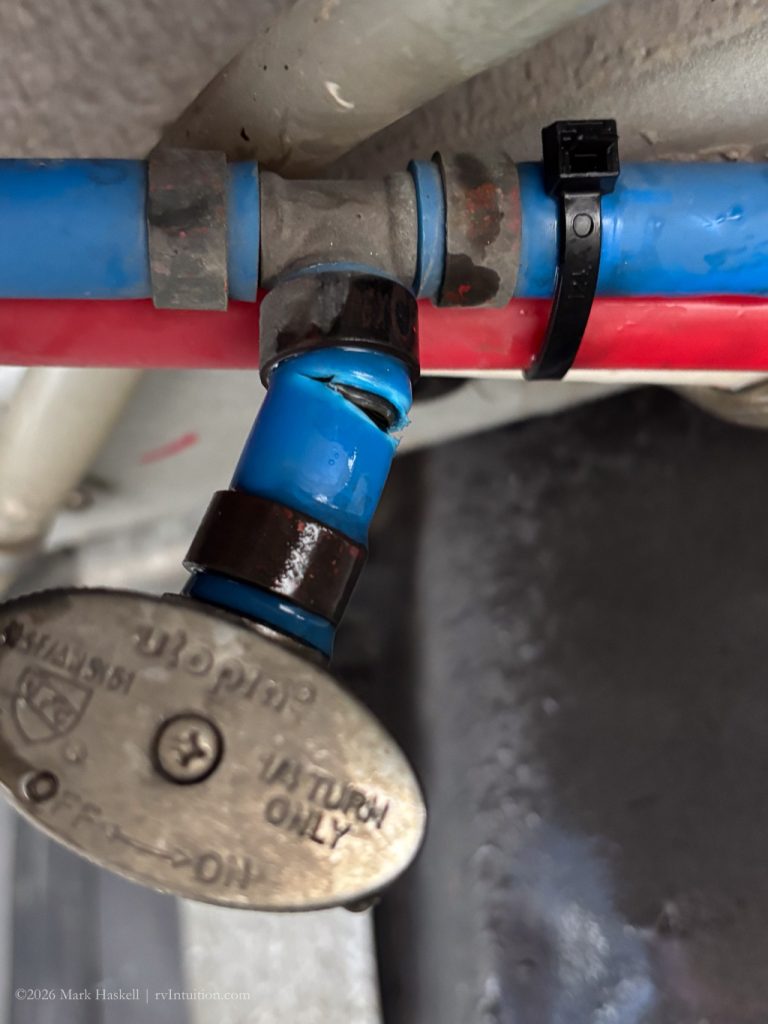
Replacing this short section of pipe is the goal. Fortunately, the metal fittings were undamaged.
PEX is held in place by crimping copper rings that seal and secure the plastic hose.
Once we cut the old hose off we needed to remove the old copper rings without damaging the metal fittings.
Removing the Old Pipe
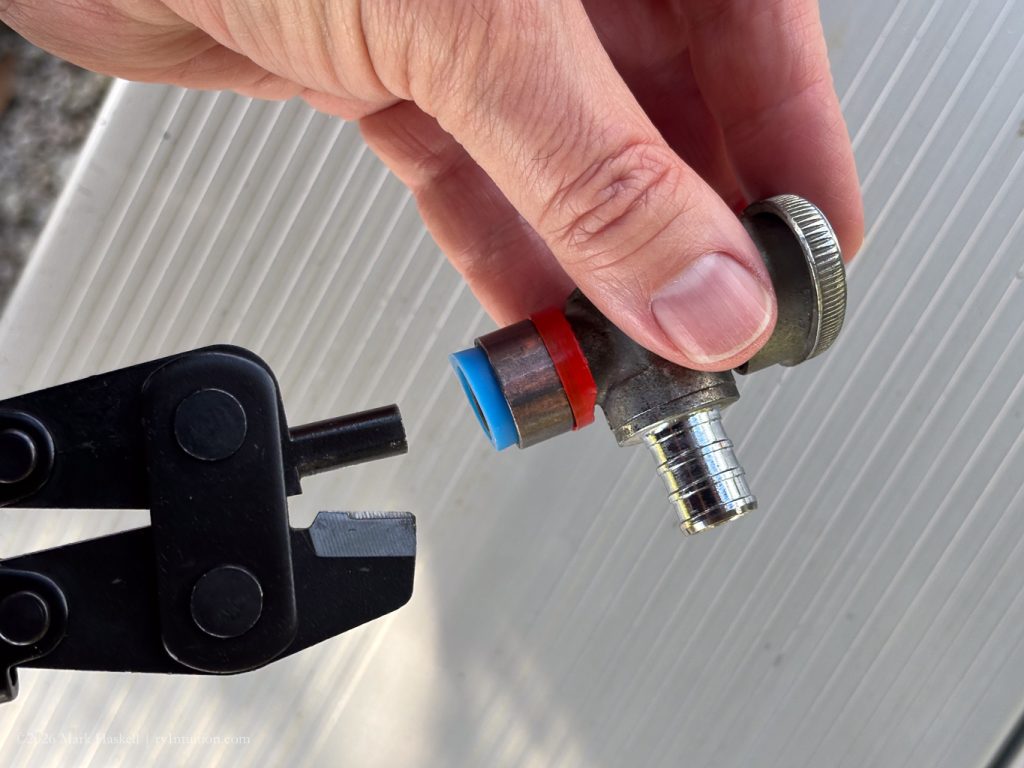
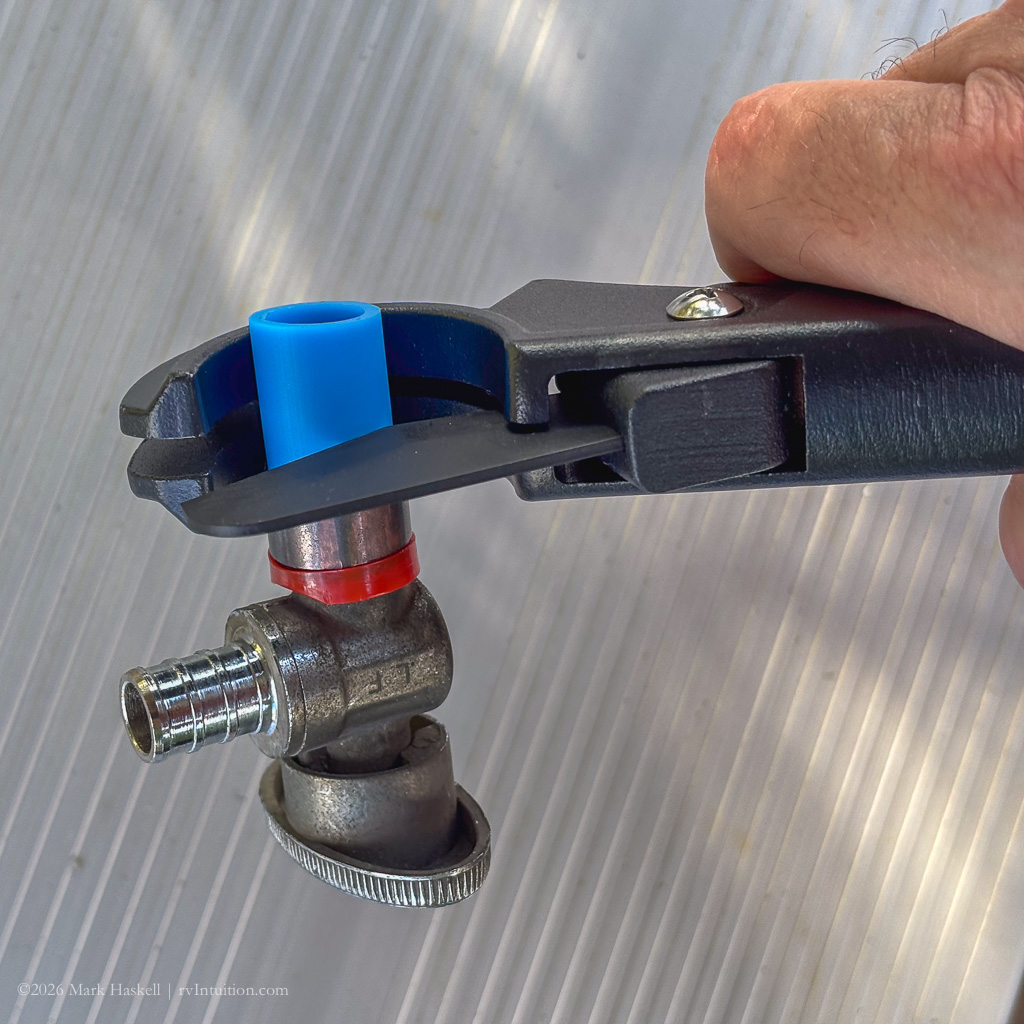
The removal tool is designed so it will only cut through the copper ring.
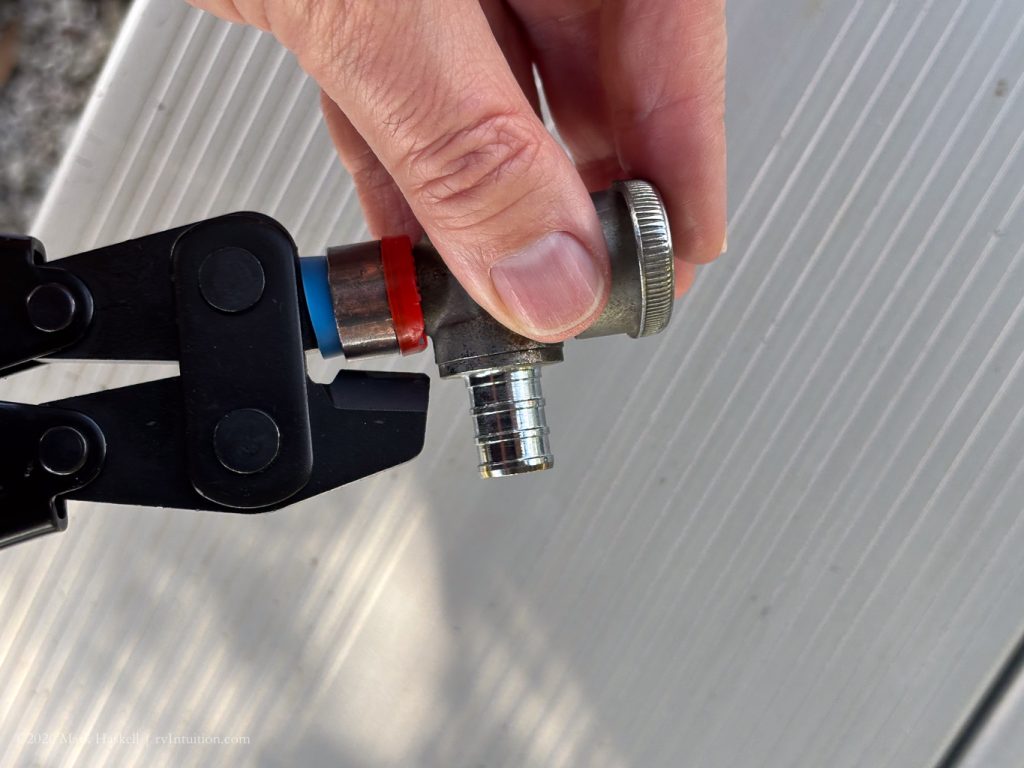
Inserted into the pipe, the blade aligns with the ring.
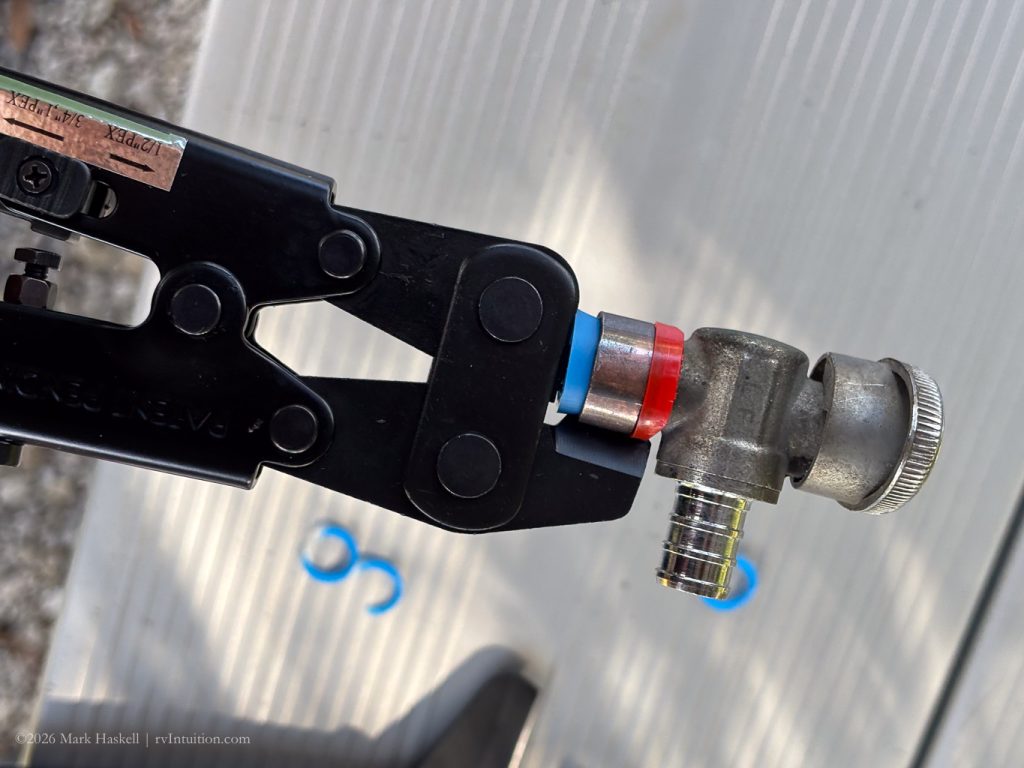
The cutters stop just after clearing the ring.
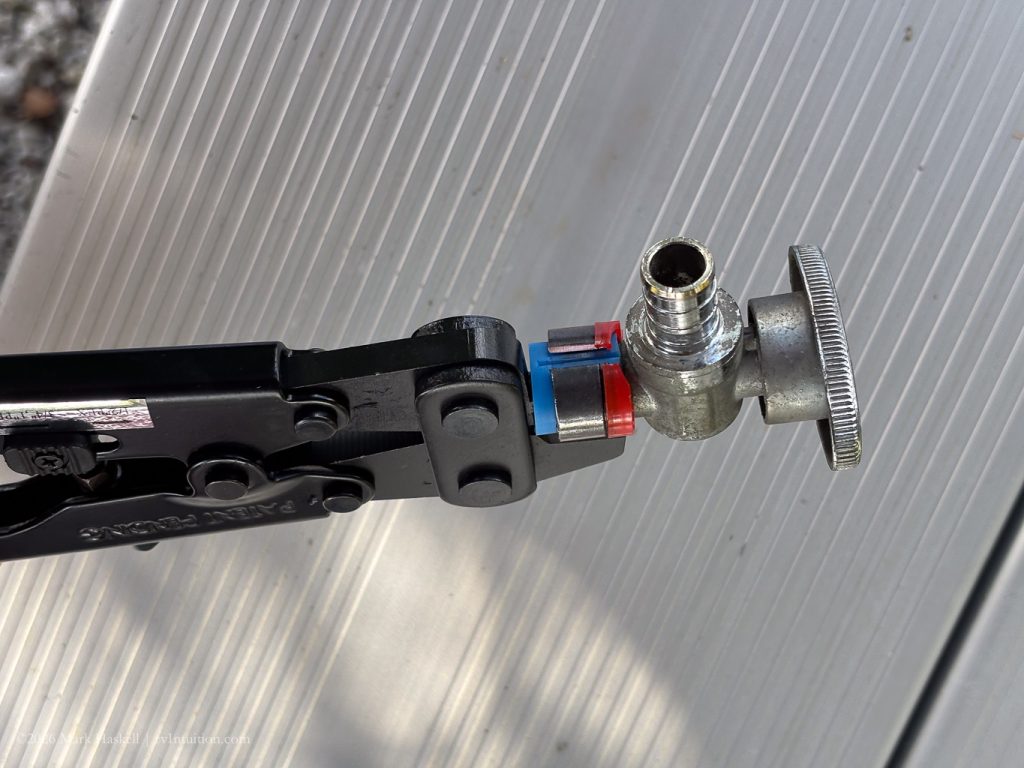
You can see the first (top) cut here.
We then turned the fitting 180° and cut the other side.
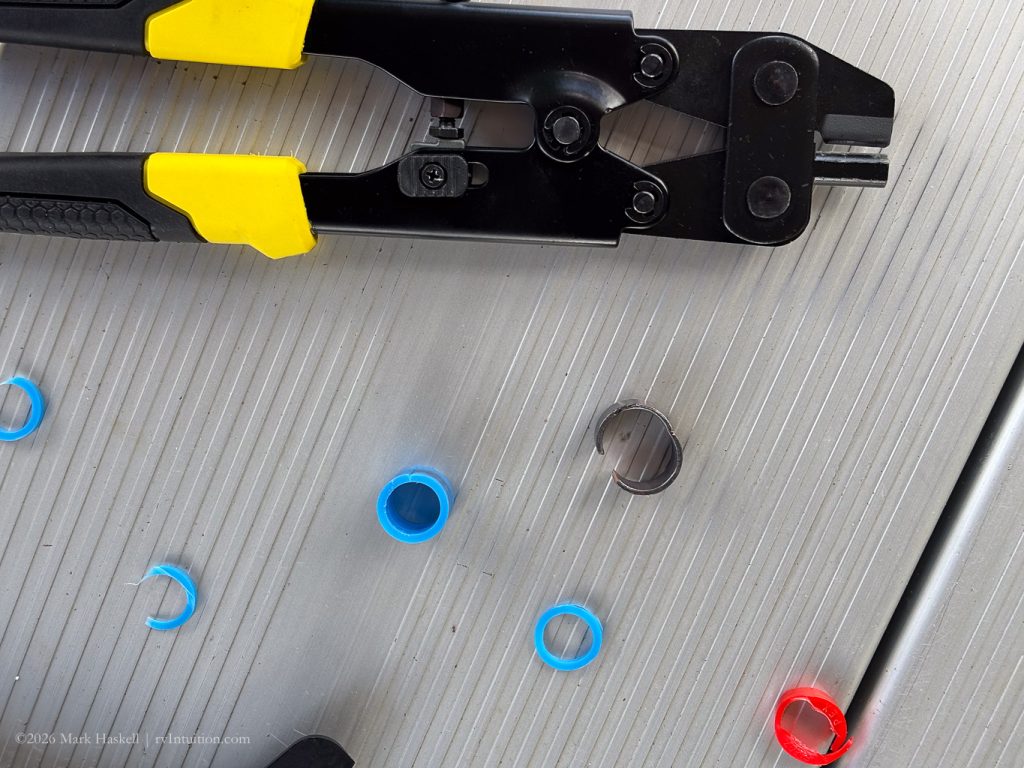
The ring separated enough to drop off the pipe. You can see the split ring here.
The same procedure was used to cut the ring off the broken connection point under the van.
Attaching the New Pipe
Crimping PEX
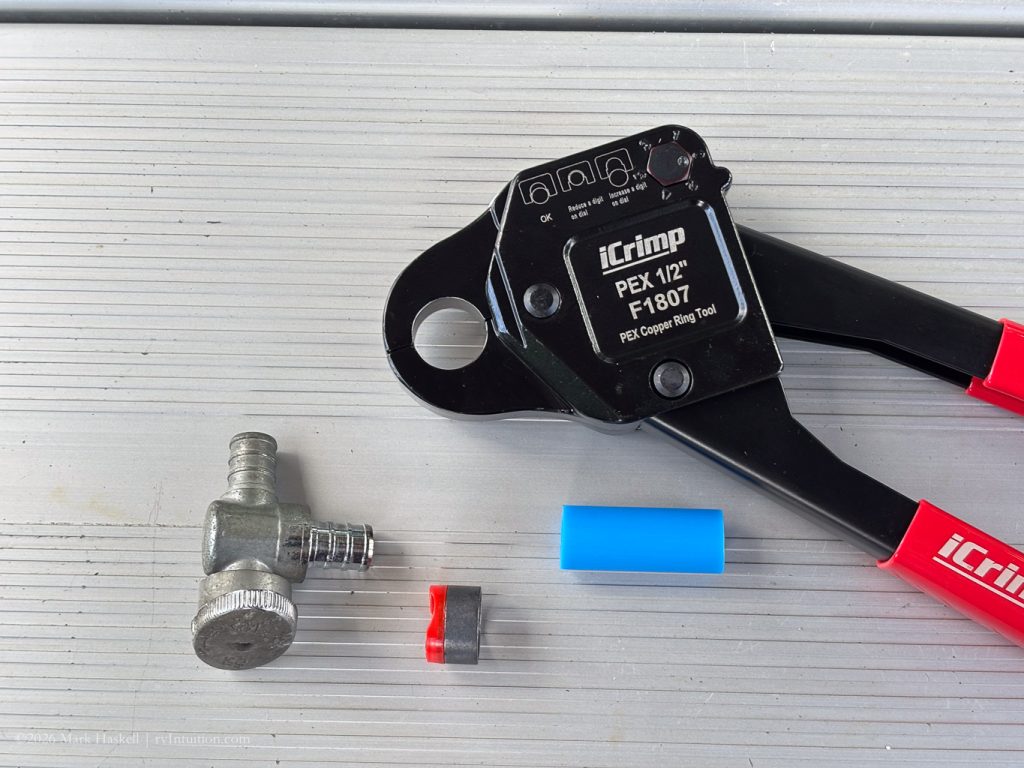
The valve, copper ring, pipe, and tool.
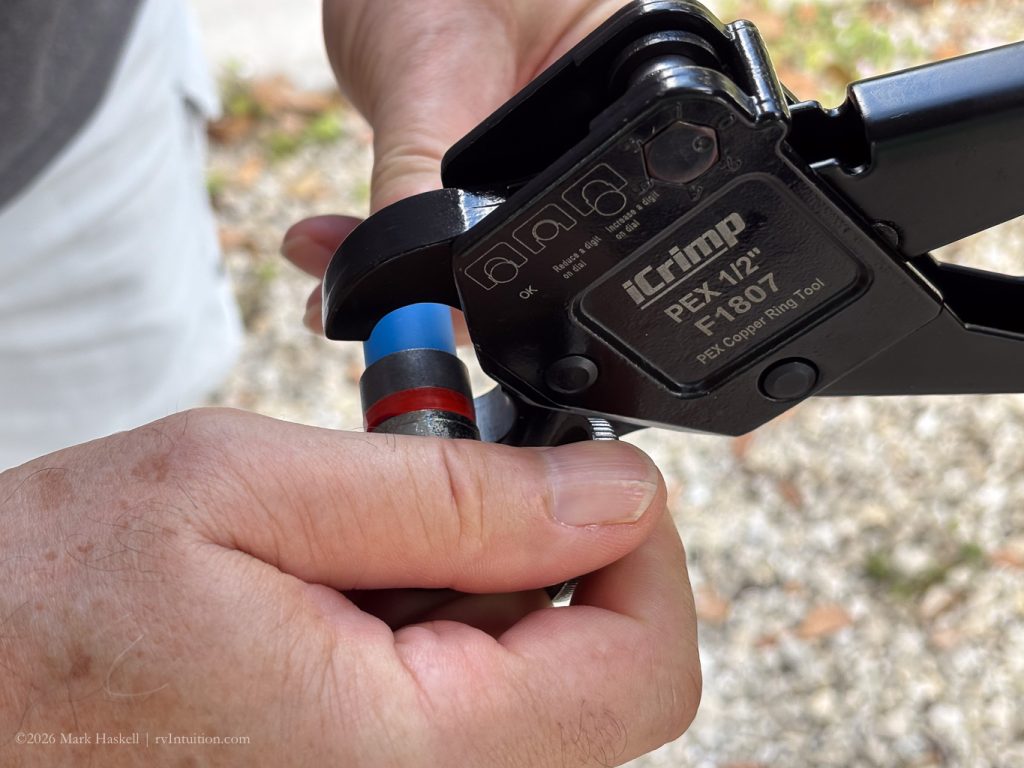
The pipe was slipped onto the fitting and then a copper ring slid on over the pipe.
The red plastic on the ring butted up against the valve for easy alignment.
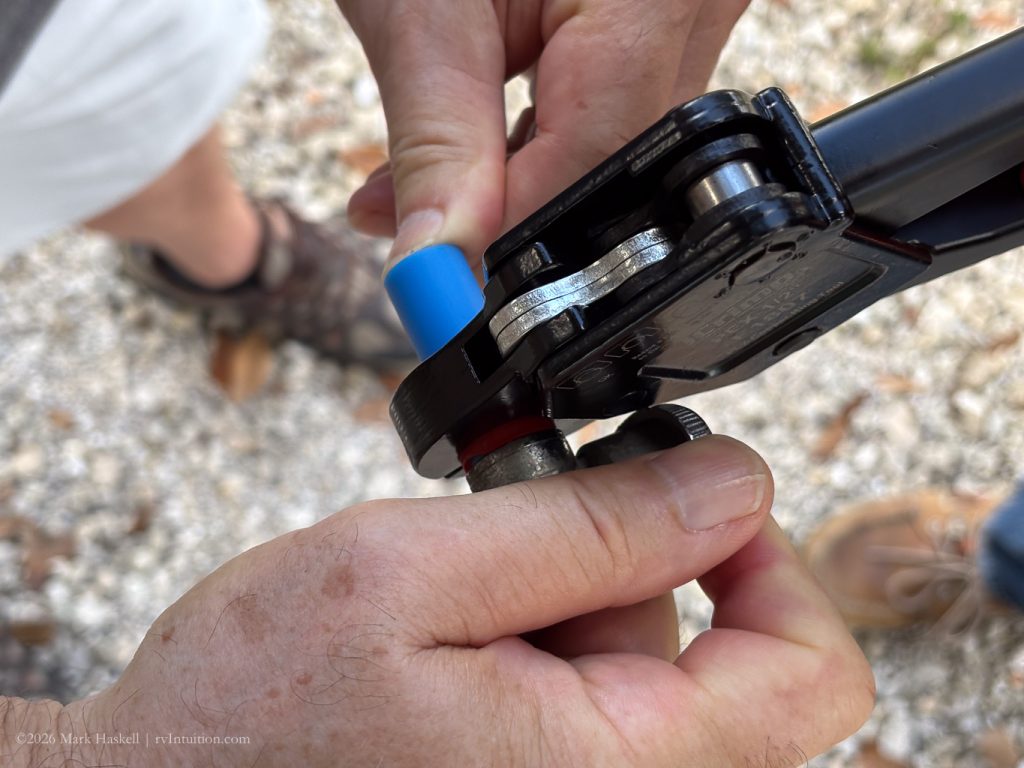
A good squeeze crimped the copper ring and sealed the connection.
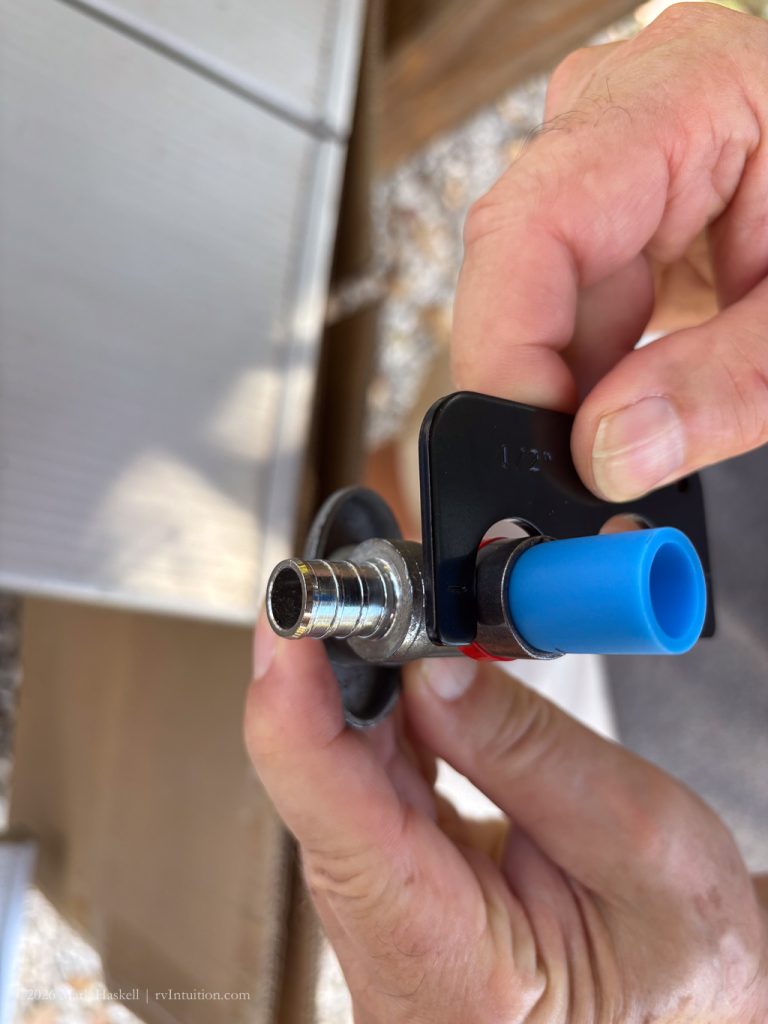
Once crimped, we measured the compressed ring to insure it was within specifications. A test gauge came with the crimpers.
Note: We had never worked with PEX before, so we tried crimping and cutting a couple of times before we crawled under the van to make the final connection.
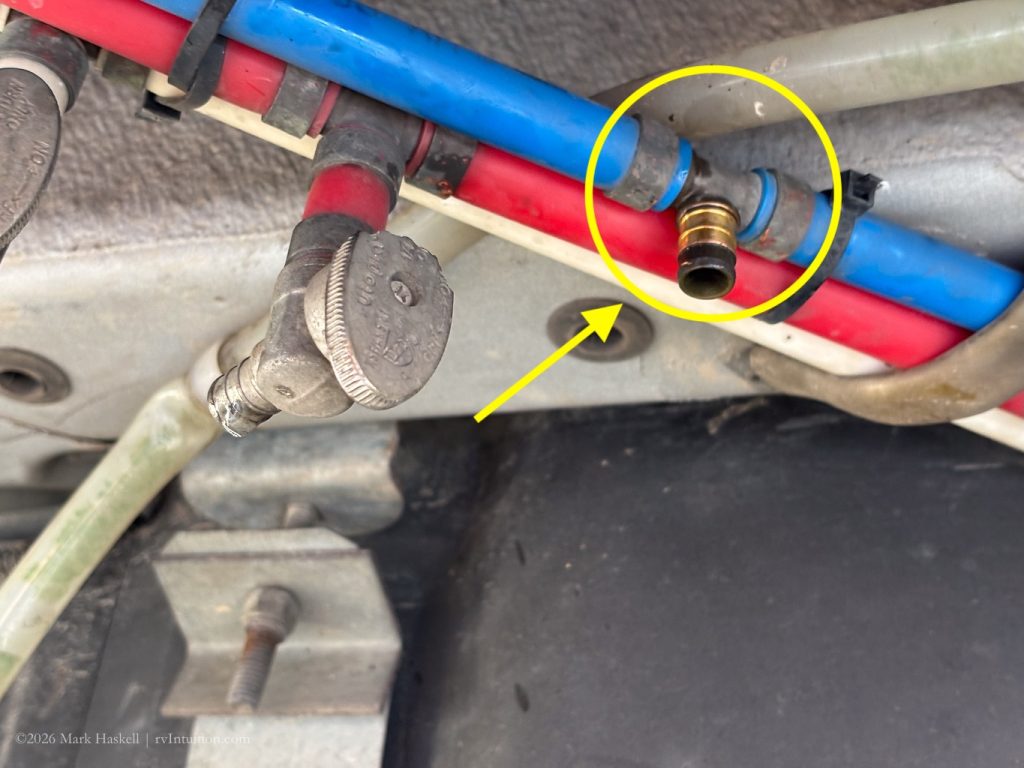
This circled 3-way fitting is where the new pipe will go.
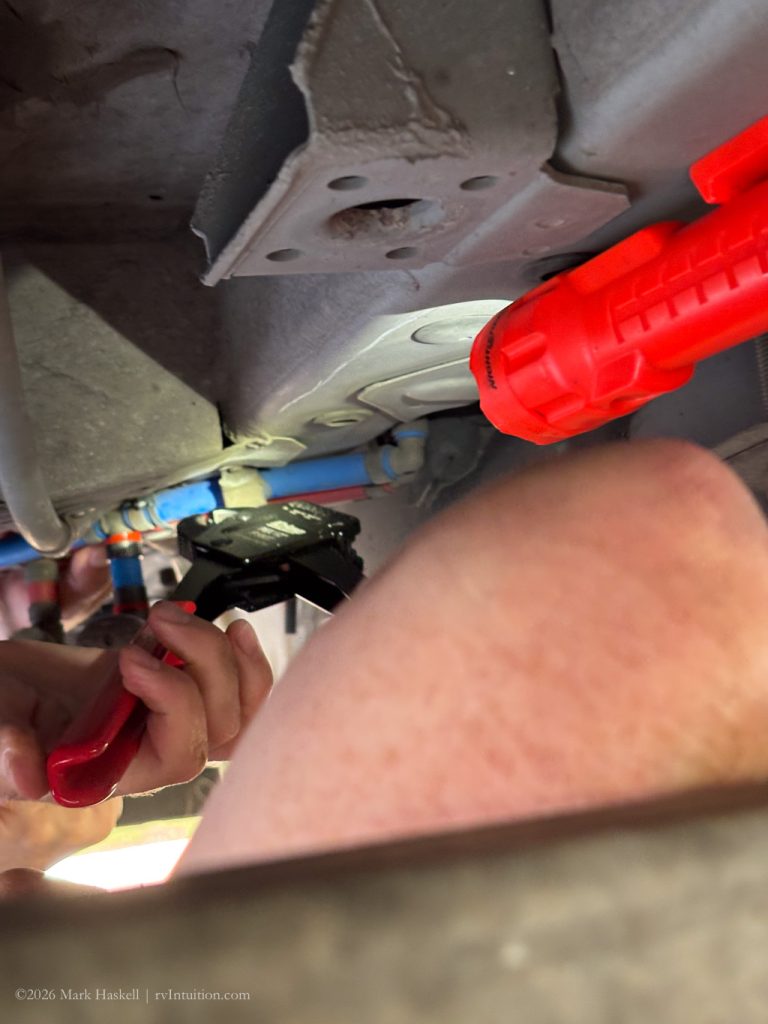
Crimping the copper ring was more challenging under the van, but it worked.
A magnet on our flashlight helped illuminate the area.
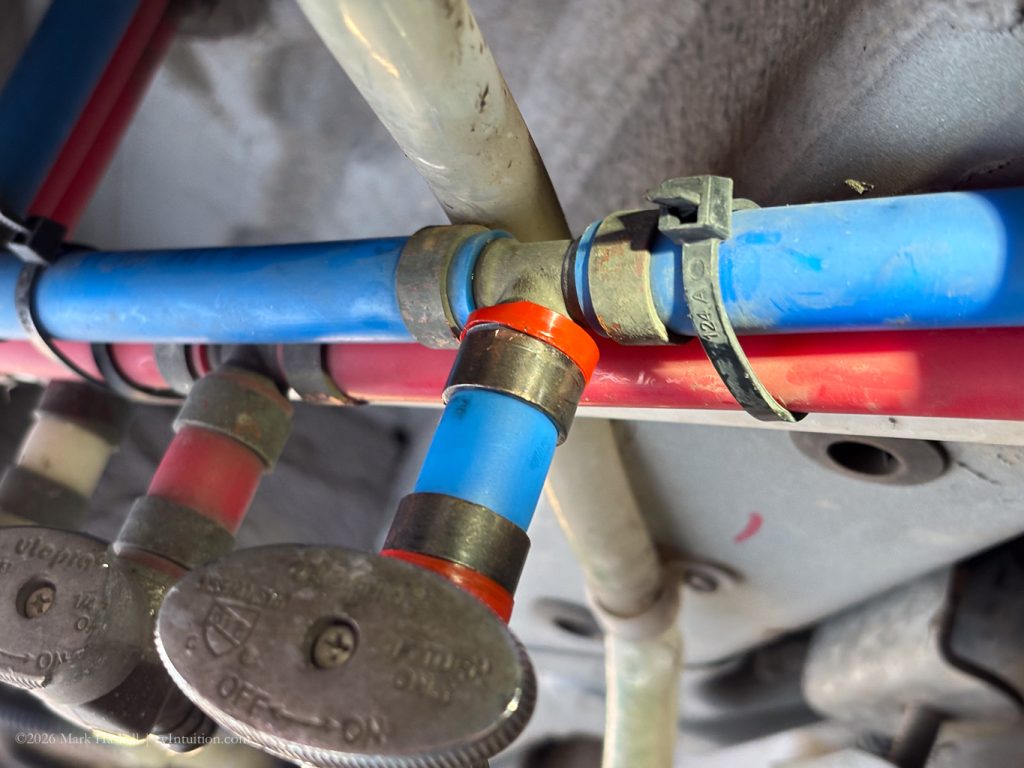
The final assembled pipe and valves.
We turned the water on and found no leaks!
The Crew
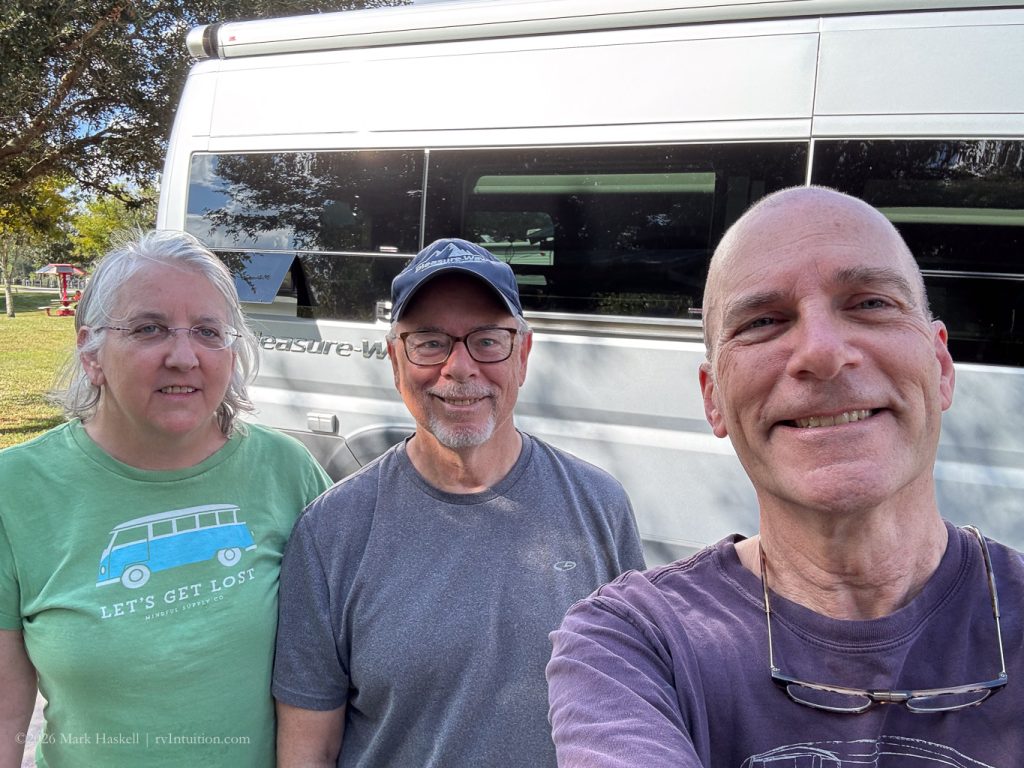
Beth, David & Me – Three happy Lexor owners.
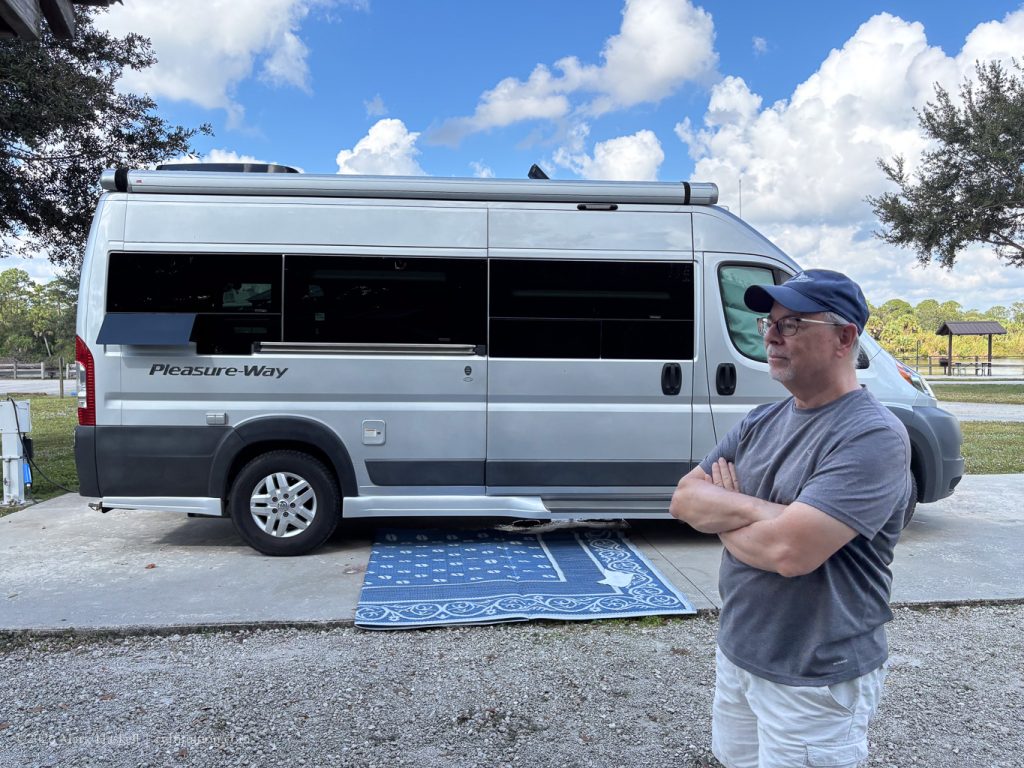
Many thanks to fellow Lexor owner David Polge for loaning us a patio mat, moral support, and helping with the repairs.

Thanks are also due to Judy & Gary for receiving Amazon packages and letting us borrow their Jeep so we didn’t have to move our van.
Leave a Reply