Our Fan–tastic Vent fan wasn’t working at maximum speed. It would run for 5-10 minutes, then stop. We rely on the cooling breeze this fan brings while camping, so decided to order a replacement motor and see if we could get it working ourselves.


No instructions were included, but two wires and four screws shouldn’t be beyond our capability. Here’s a close up of one of the four holes in the bracket.

The question I had was, could this be done without going up on the roof? The answer was yes, and the key is a stubby Philips #2 screwdriver.


Even with that done, a little more clearance is needed to get to the four screws securing the motor bracket. Those screws are accessed from the top side, so the vent cover needs to open more fully to make room for the screwdriver. Removing the two screws holding the metal arm to the vent cover allowed the cover top open further, providing enough clearance.

With the motor out and the vent cover open, it allowed us to see the sensors that enable the automatic features. The Rain Sensor is this circuit board. Any moisture that connects the two traces will complete the circuit and signal the vent cover to close.

The other sensor is this plunger switch that turns off the power once the lid is closed. The two wires here are the ones we cut and splice to install the new motor.

A clip holds the wires to one of the arms. It slid off easily.

We installed a but connector on the motor side of the red and black wires. After cutting and stripping the two wires from the old motor, it was time to crimp the connectors to the hanging wires. A step stool and a helper for a second set of hands makes this much easier. Marine heat shrink connectors are best as they will seal the connection. Note that our new motor came with red and black wires, while the old motor had red and white wires. We connected red to red and black to white.

The clip was then reinstalled to secure the new wires so they don’t fall into the fan blades.

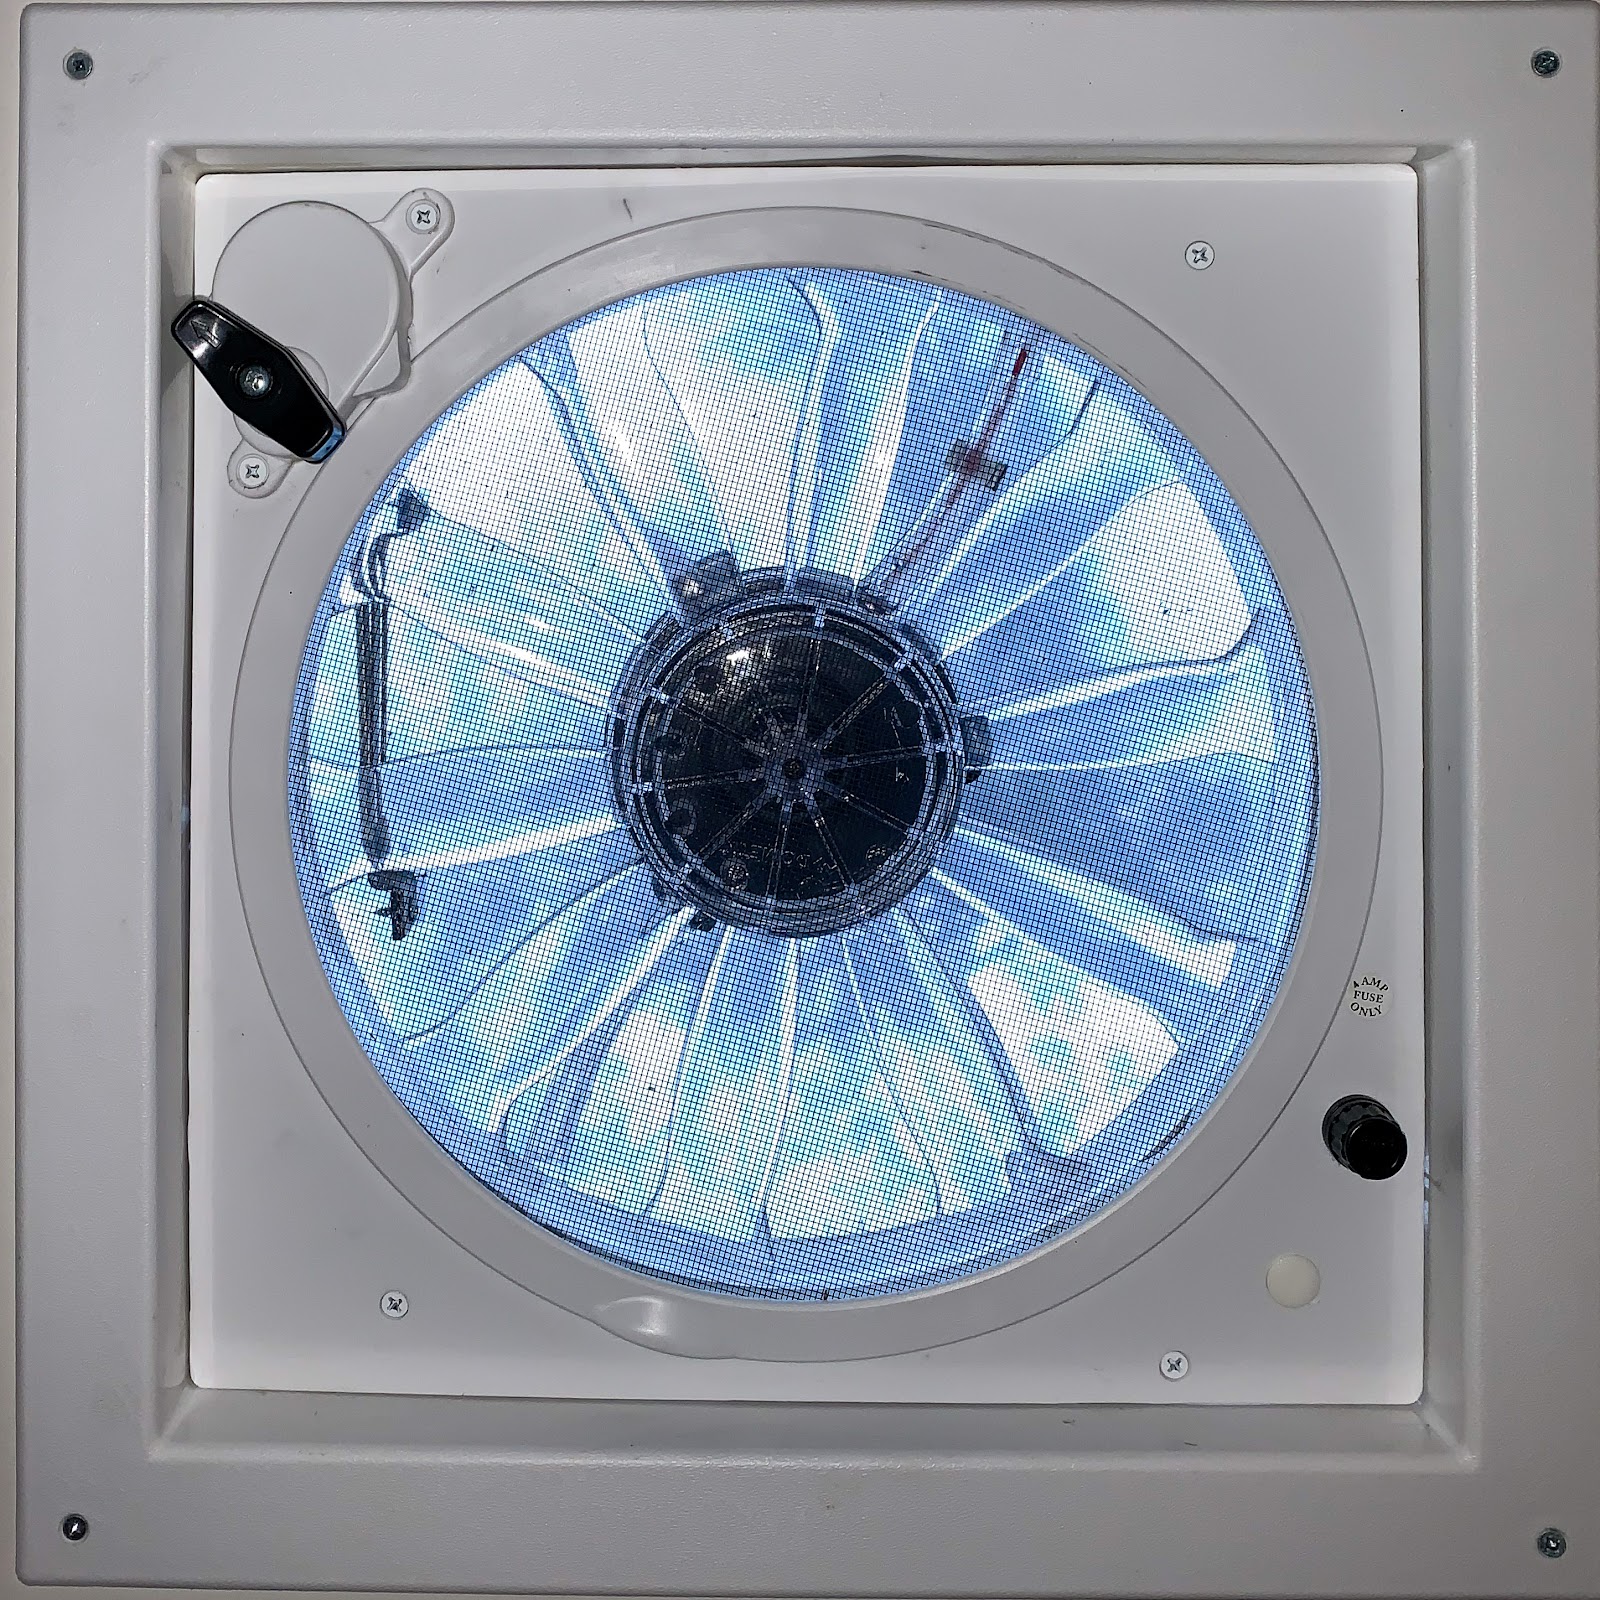
Reassembly was easier than disassembly. The new fan blade slid onto the shaft, it was secured with the center screw, and then we popped the screen back in. Finally, we turned the DC power back on to test the repair. The new fan worked at all speeds and it even seems to be a little quieter that the one it replaced.
Leave a Reply