While we love our ProMaster based Lexor, there are a couple of design quirks that are annoying.
Center Seam
Seams are notorious for leaking and one exists in the center of the windshield cowling.
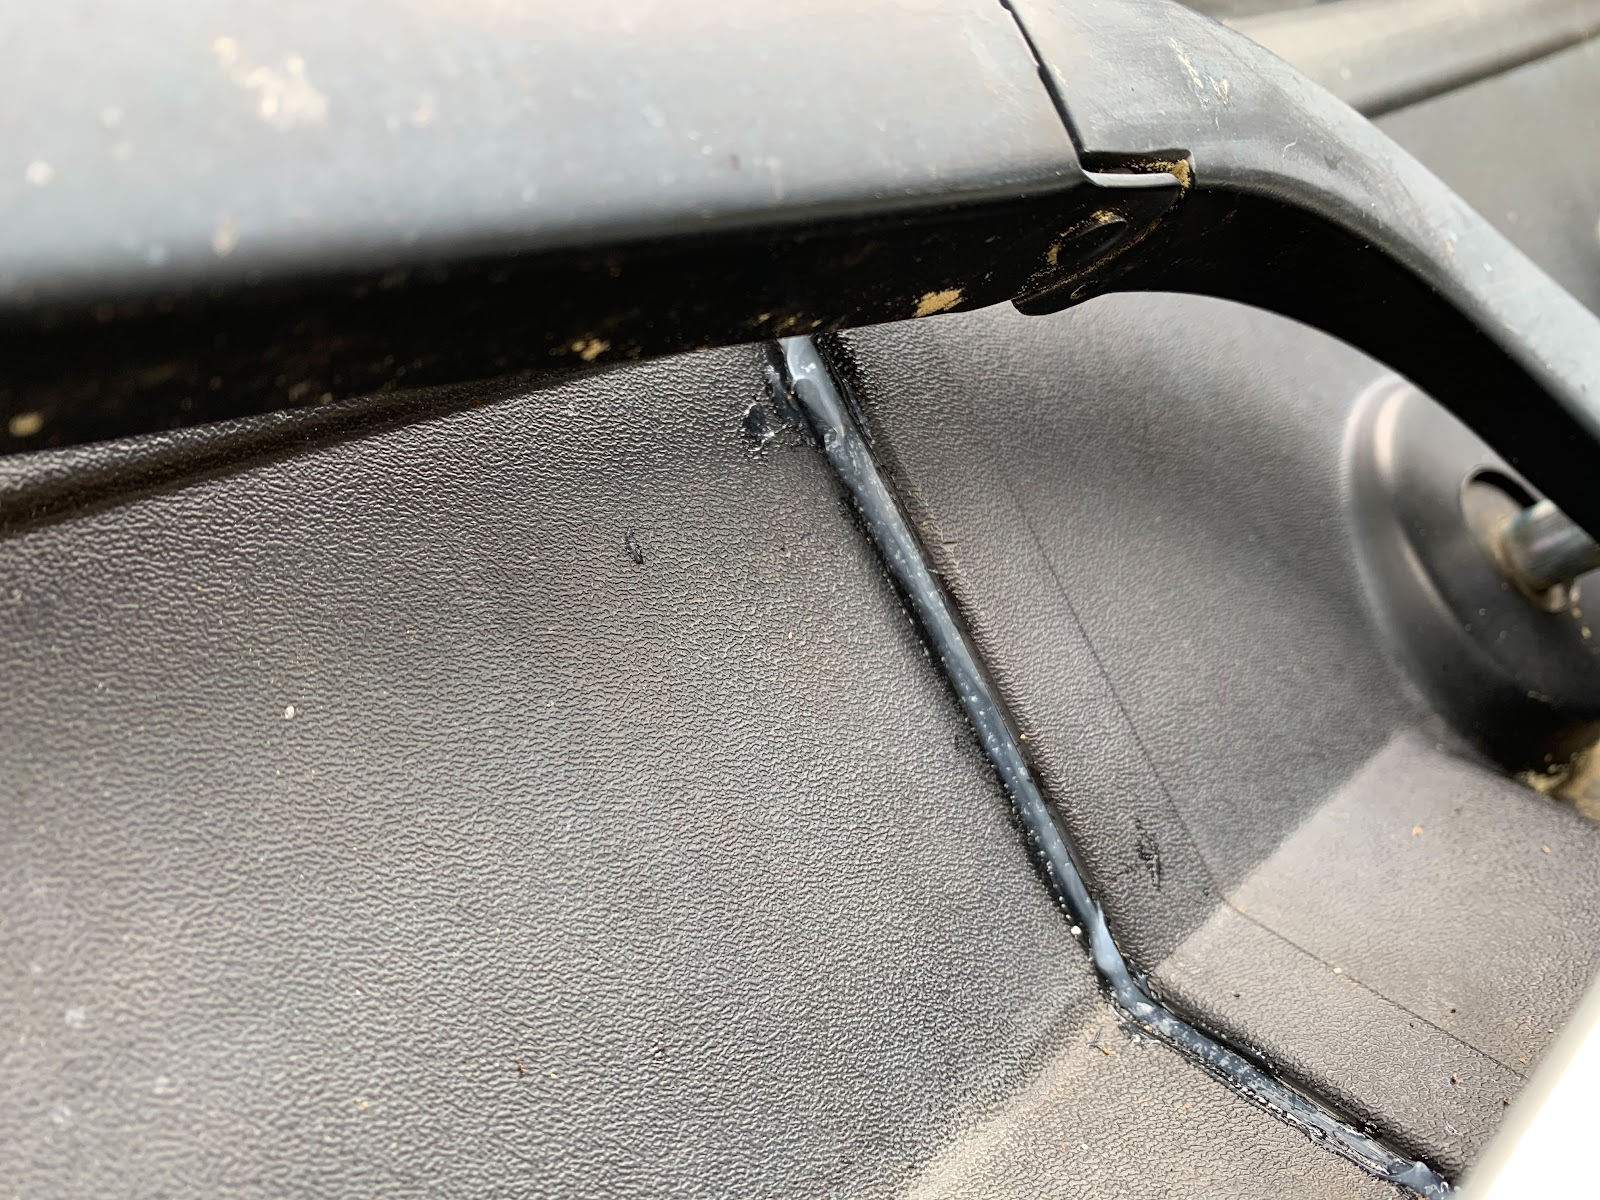
A little clear silicon caulk has held the water out for a year. Look for a caulk that is both waterproof and UV resistant.
Once dry, the caulk isn’t very noticeable.
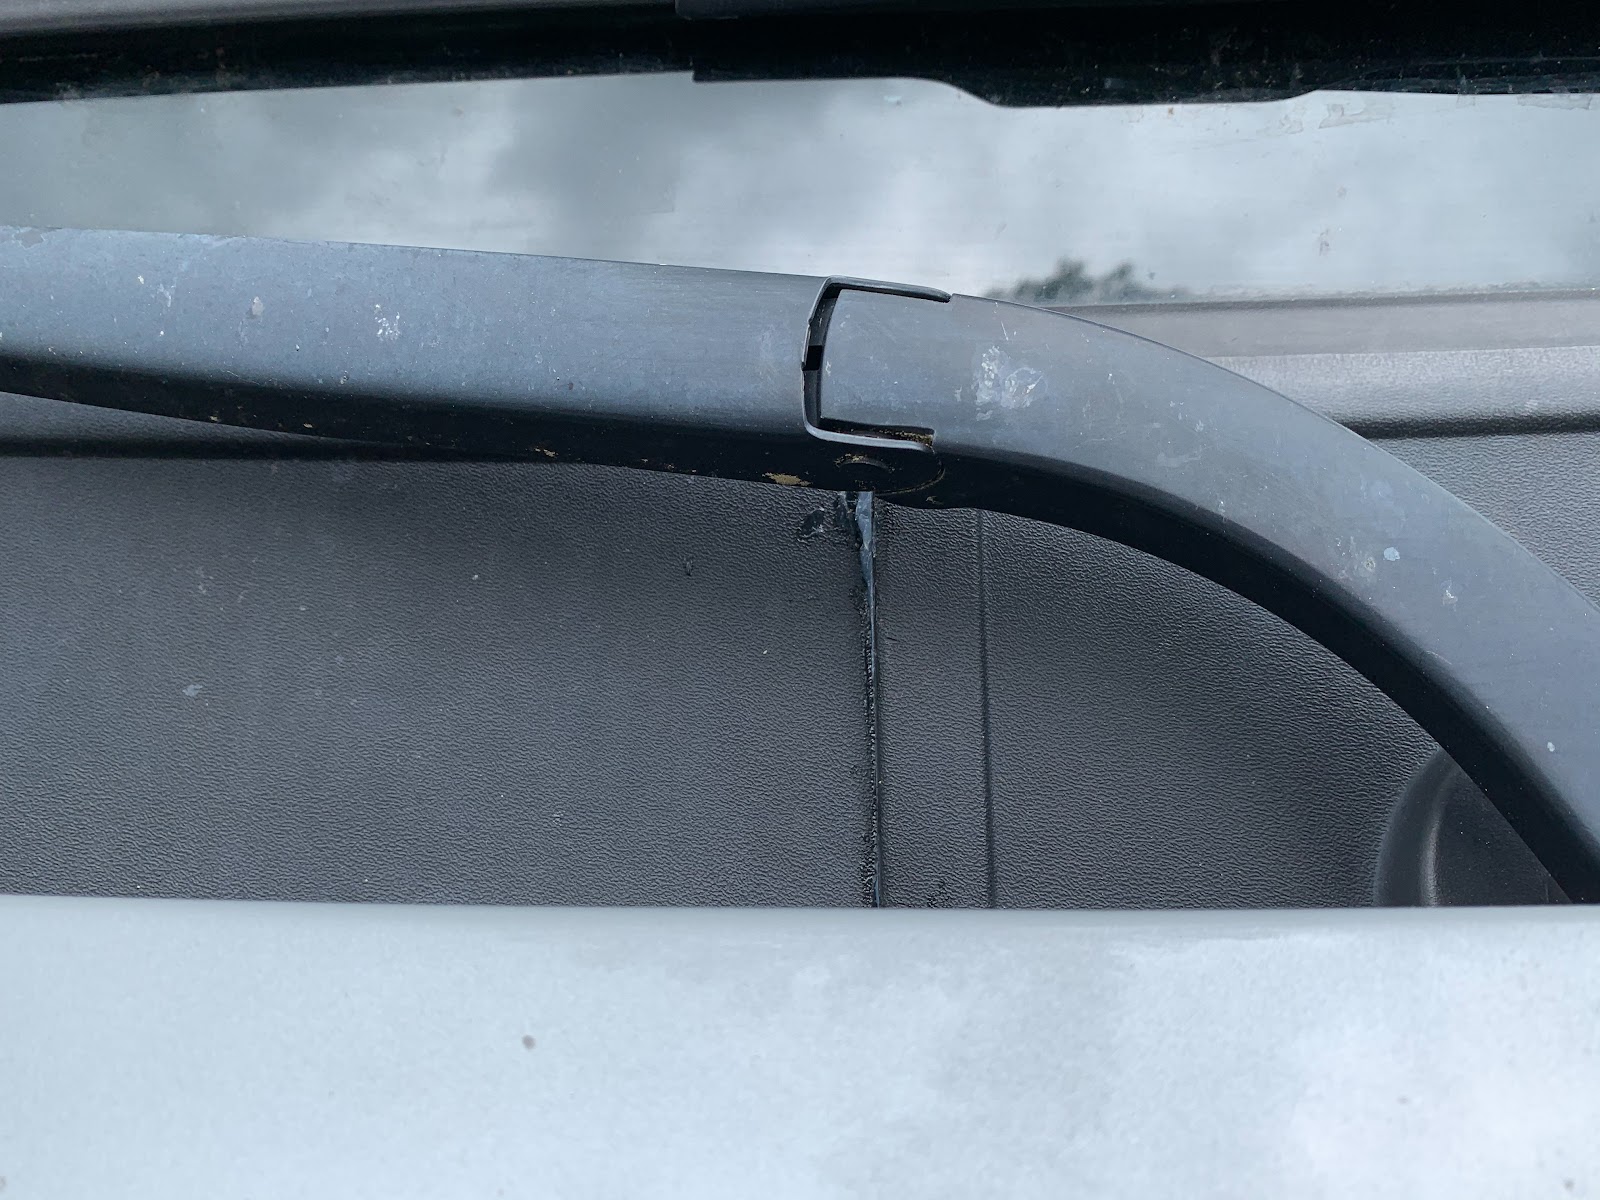
Left Drain
The flip side of the issue is poor drainage on the two ends of that same cowling. The drains are tiny. Replacing them with larger diameter holes and hoses might be an ideal solution. Not wanting to make new holes, we have found routine cleaning keeps them draining. An abundance of pine trees keep us busy cleaning out the drains every spring.
We have found that a piece of string from our yard trimmer is perfect for cleaning out the two small holes and drain hoses. The one on the passenger side, shown here, is easy to access.
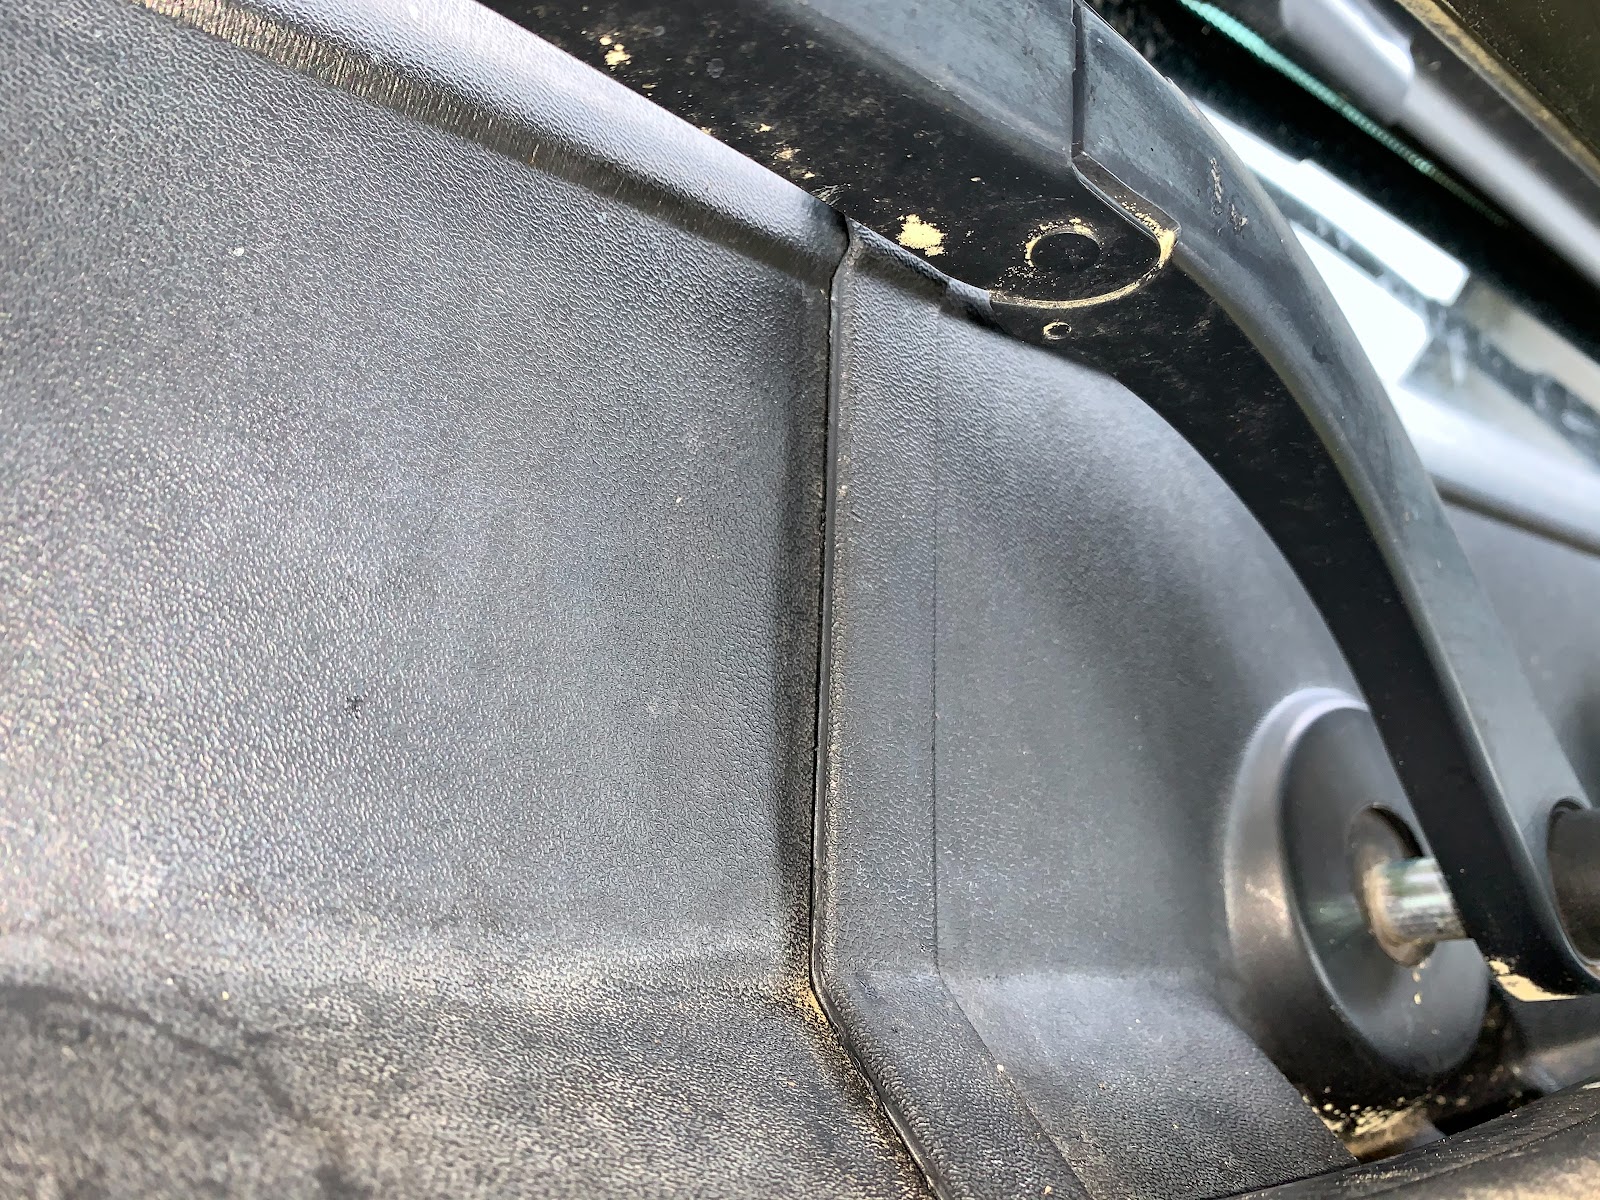
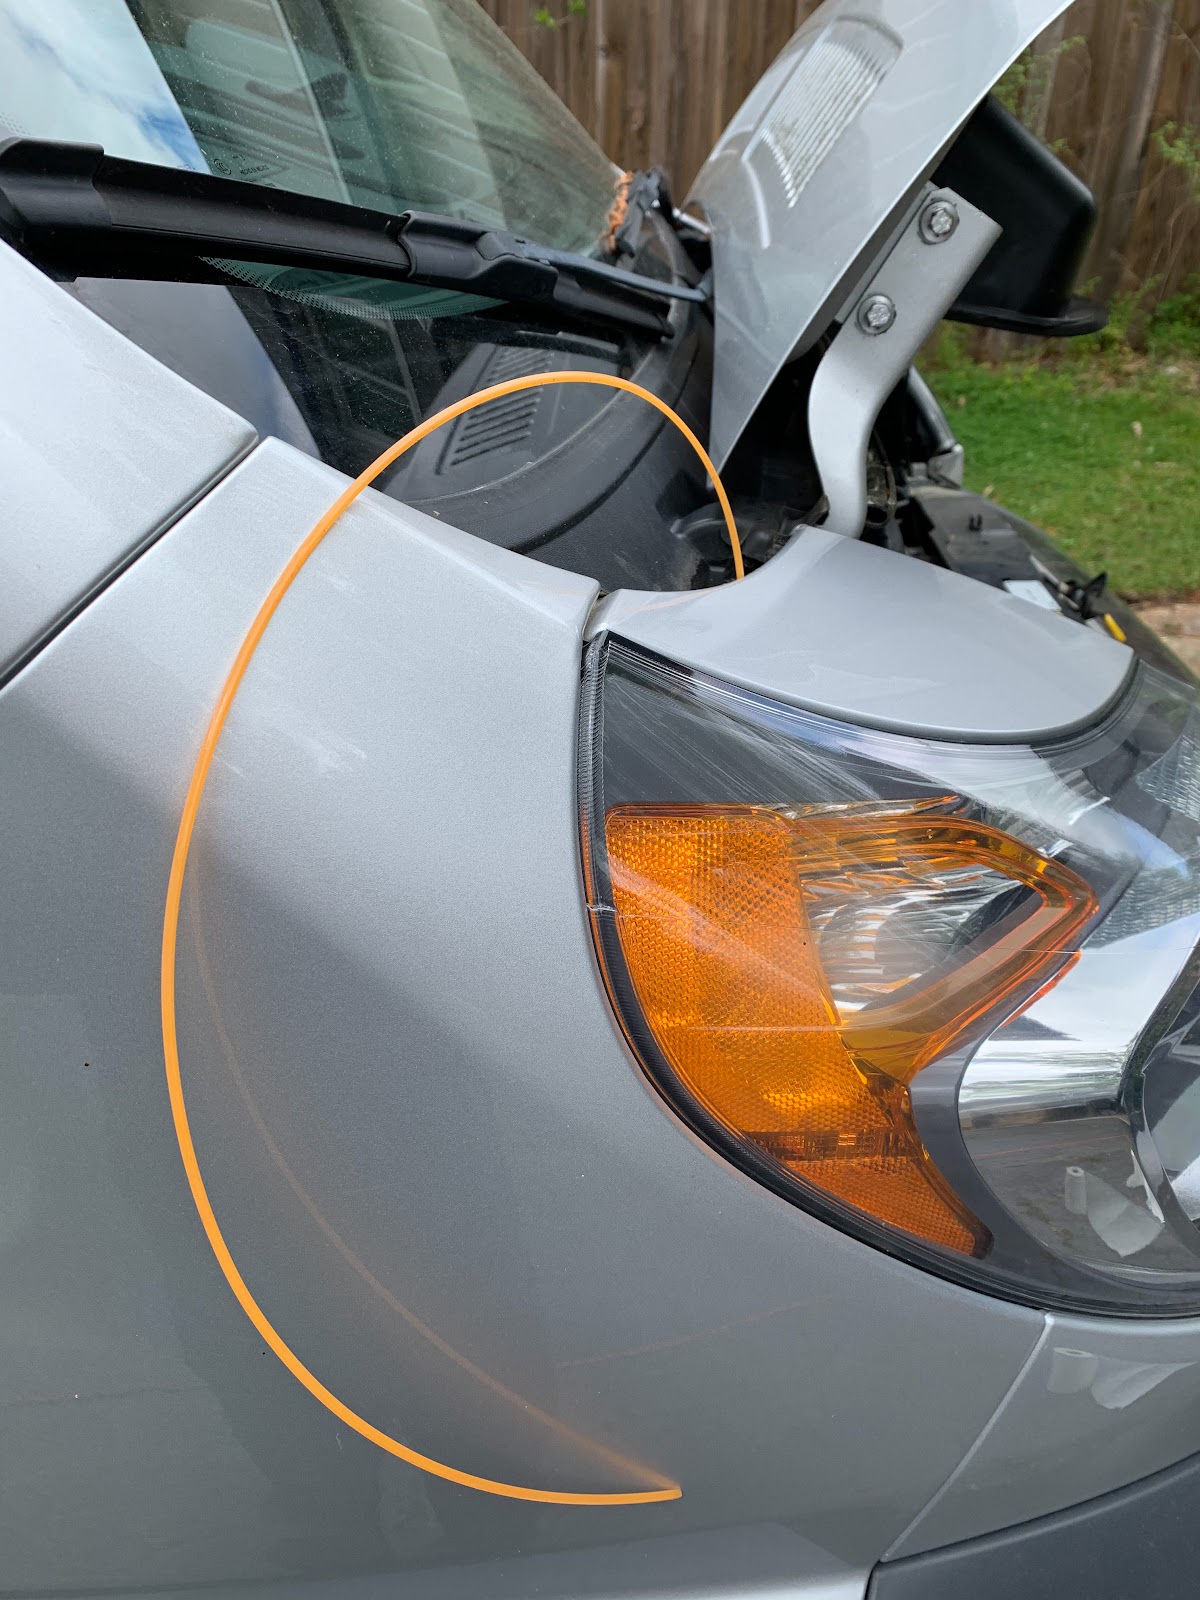
Right Drain
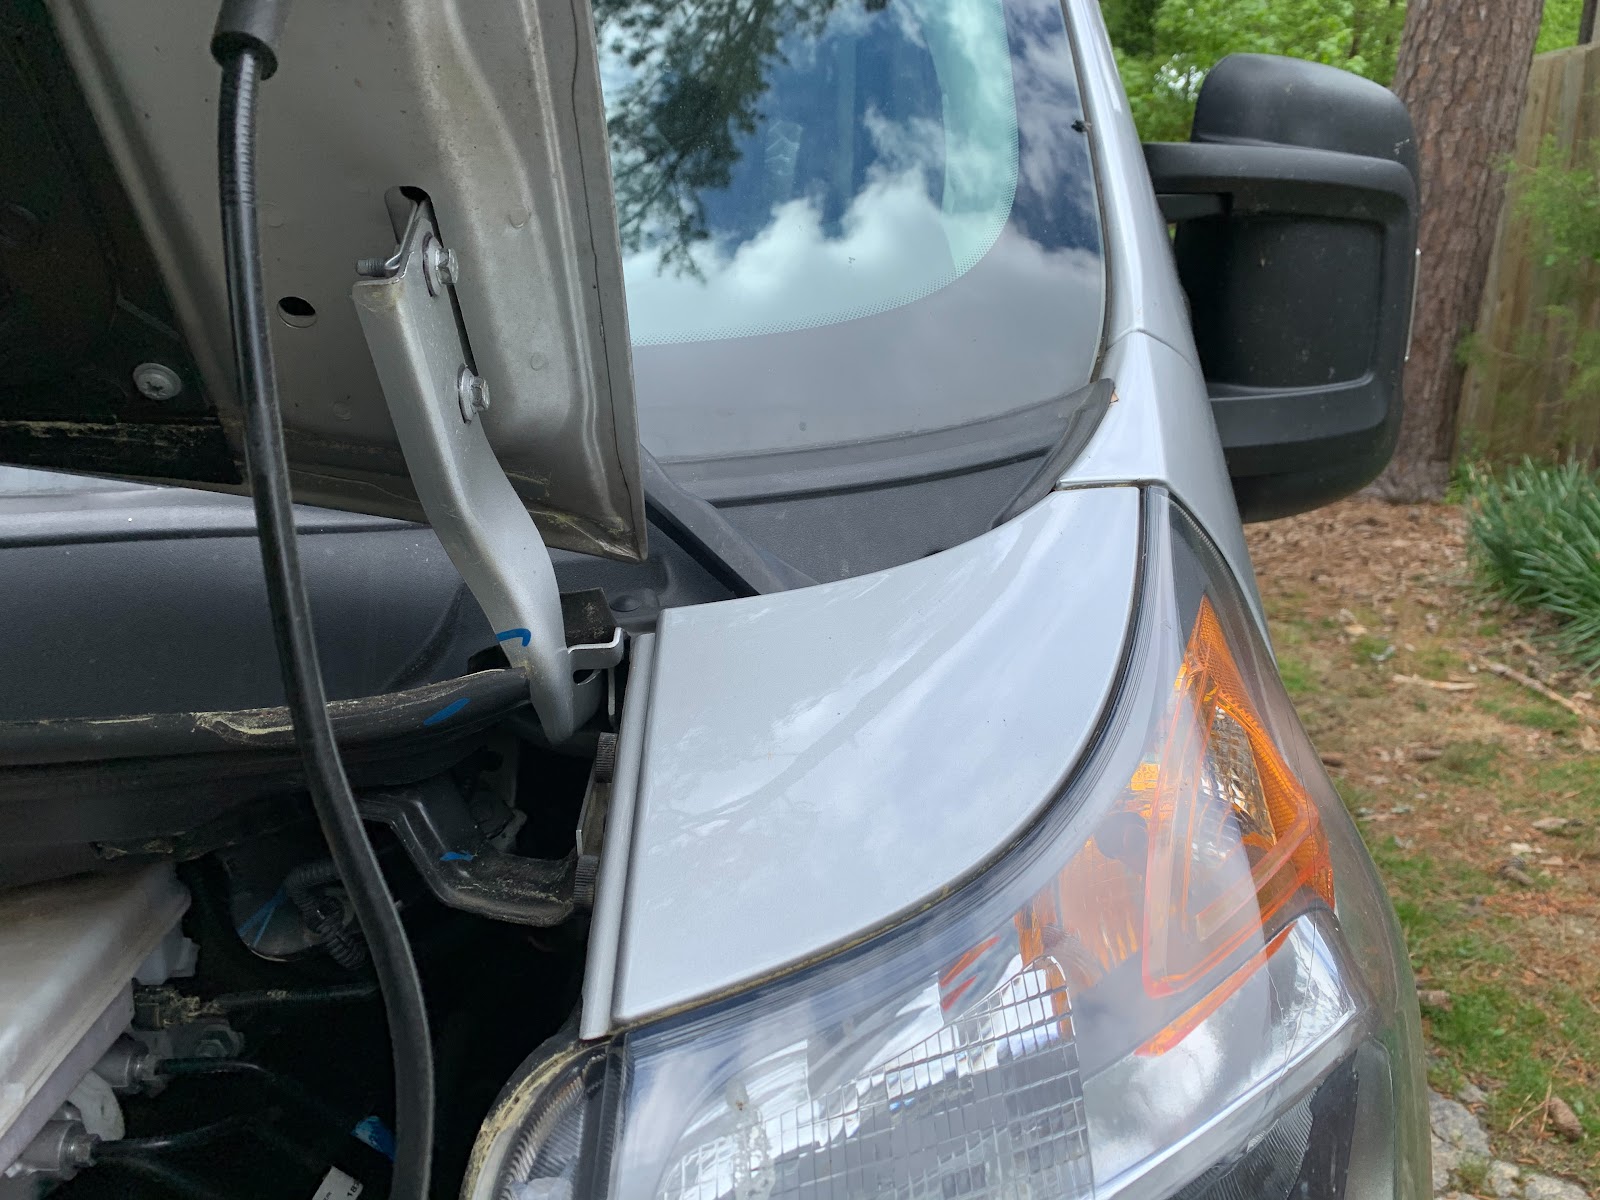
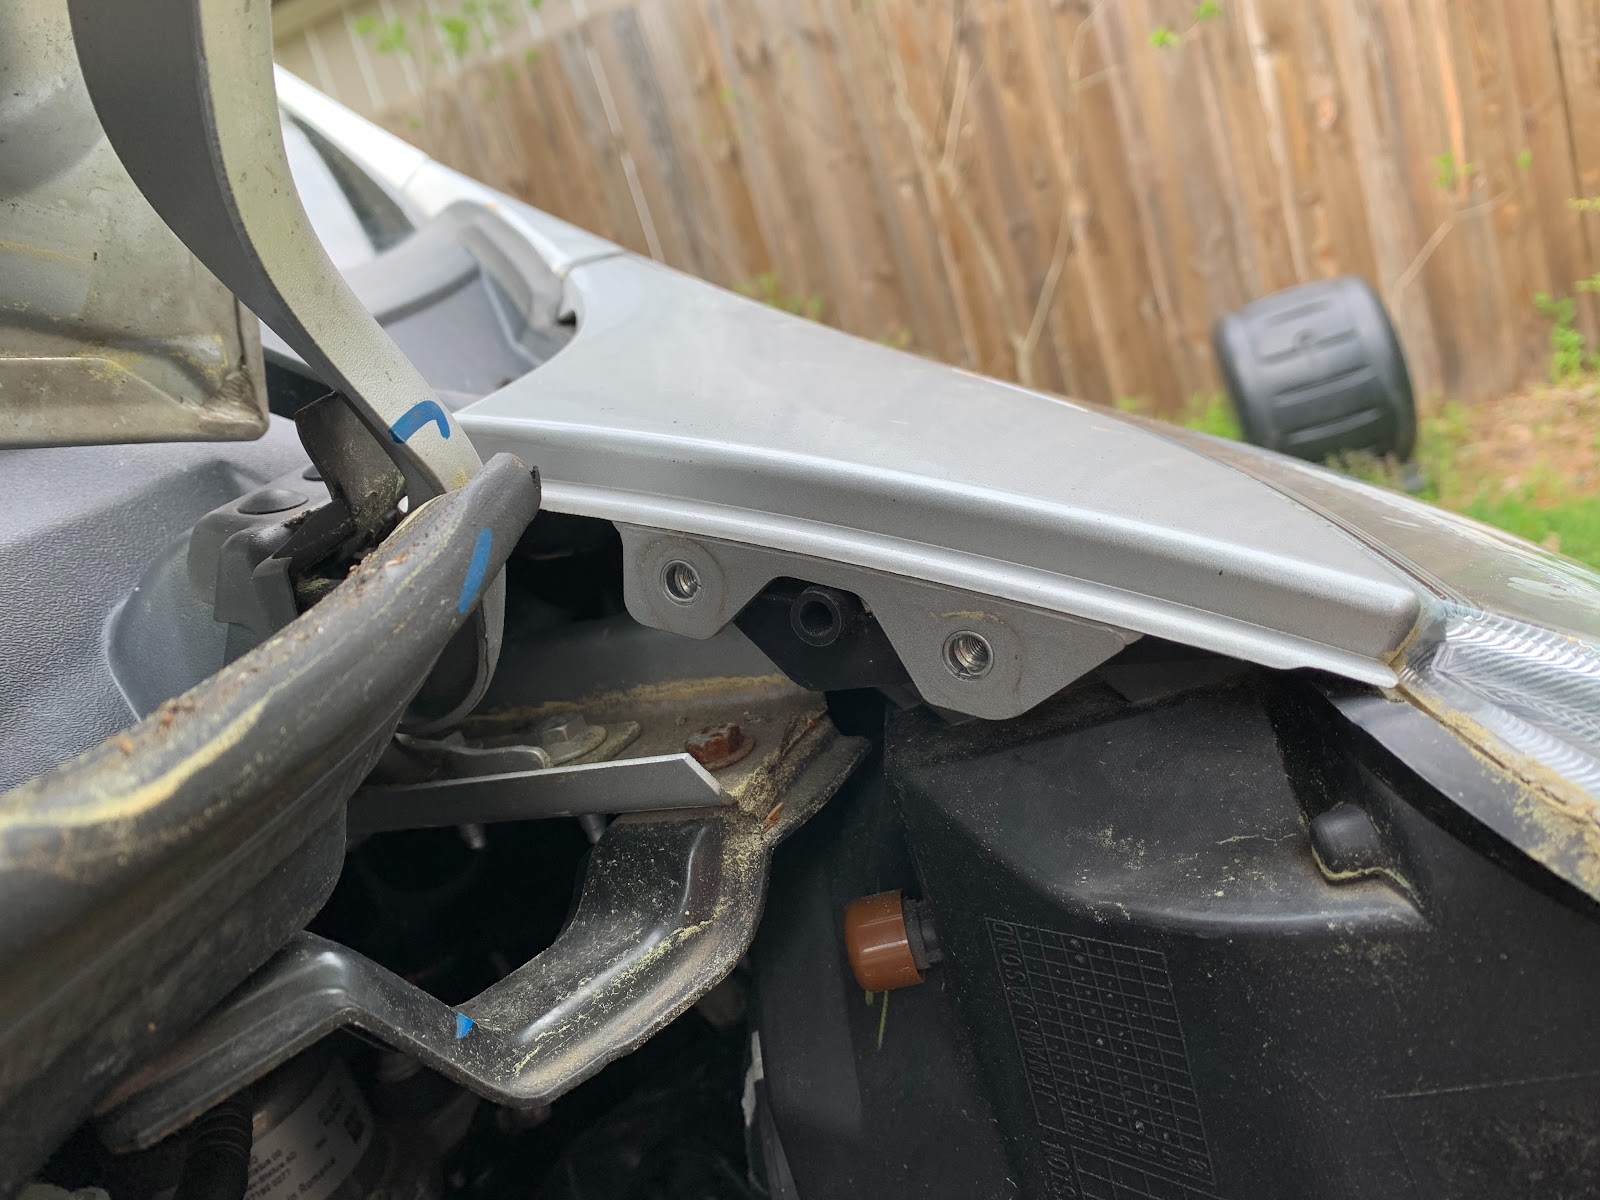
The driver side drain access takes a little more work. Removing the small trim plate over the light makes it easier. The first step is to raise the hood.
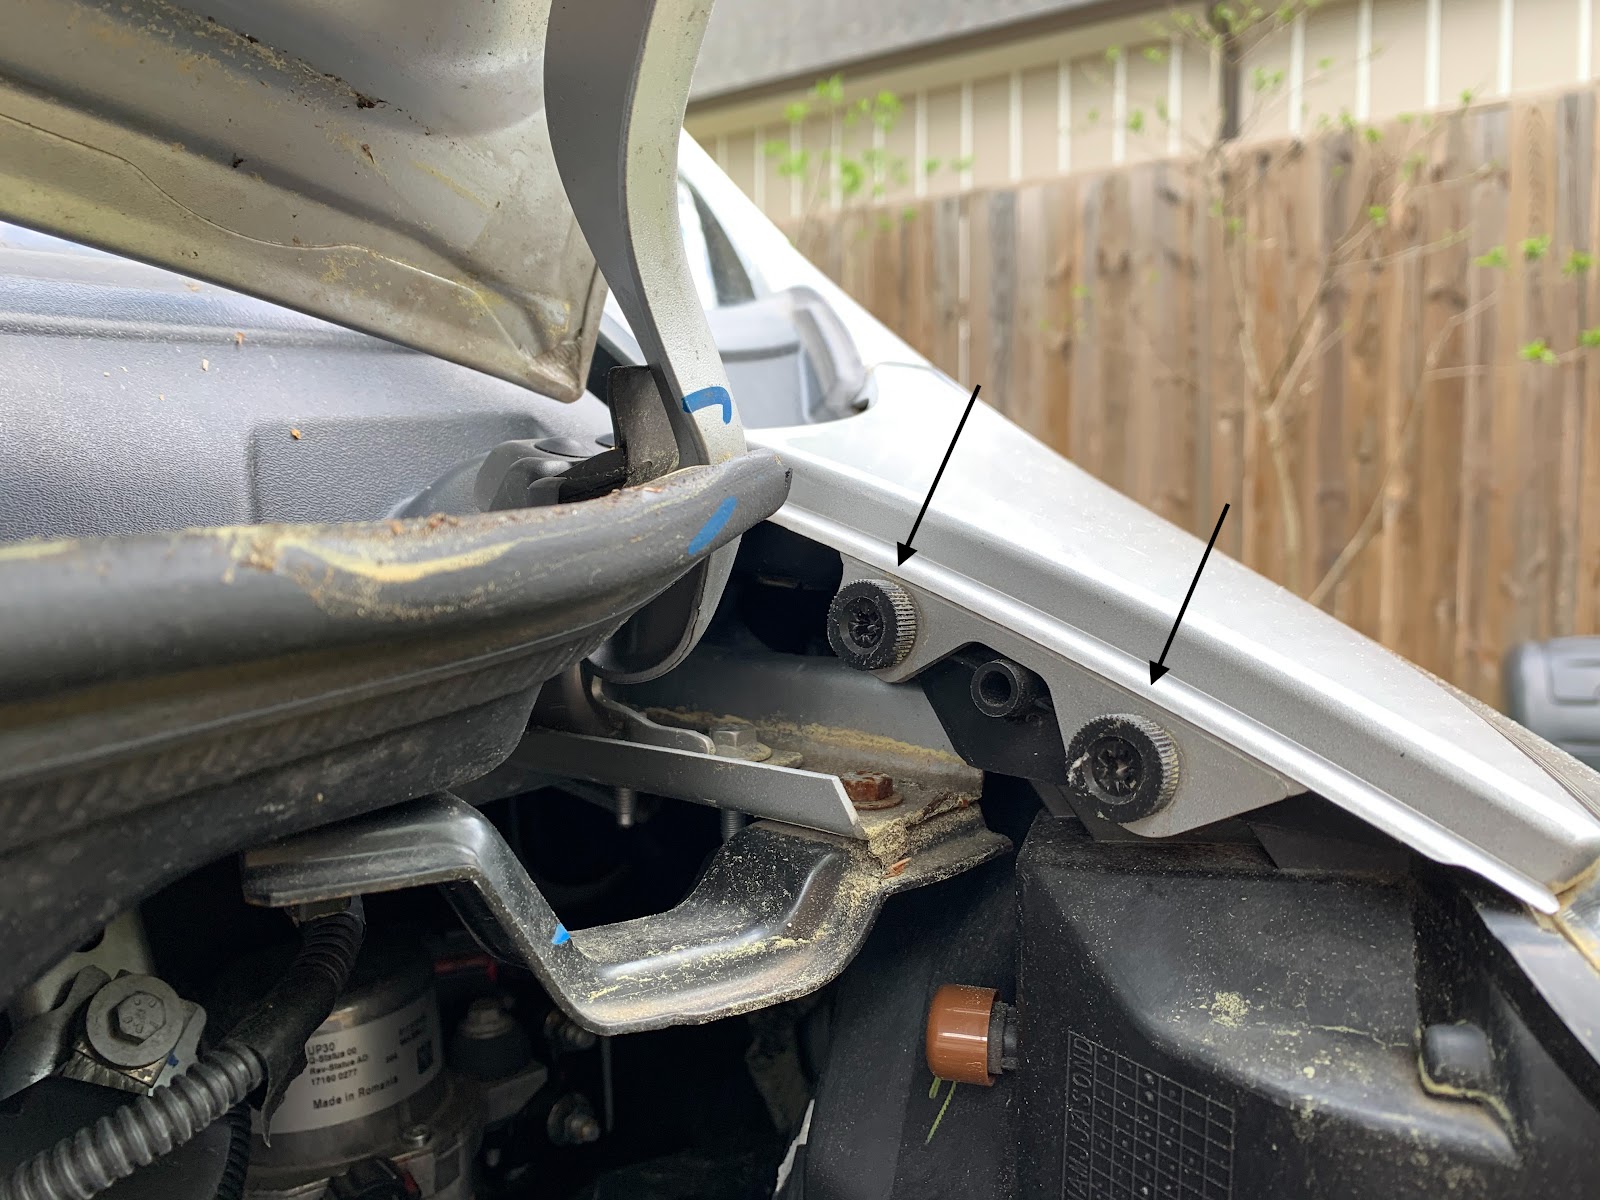
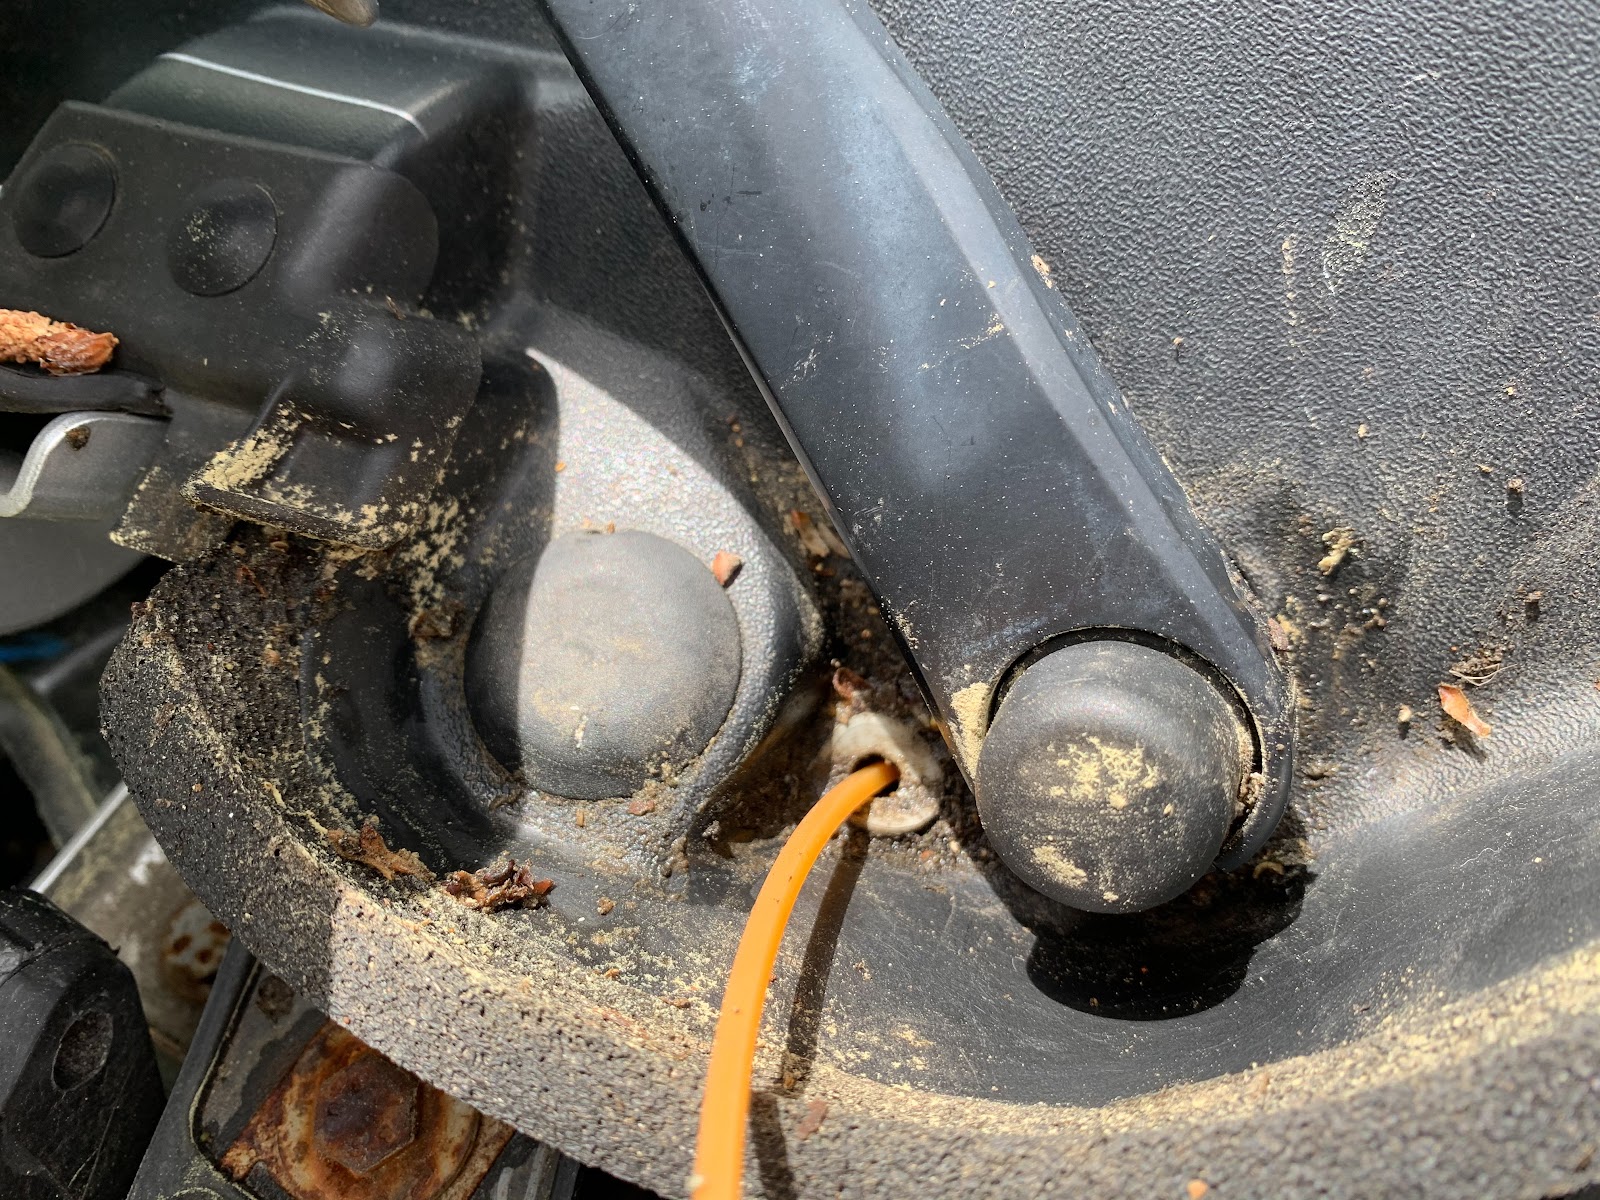
Next, remove the two knobs shown here to release the trim plate. If they are too tight to loosen by hand, a large phillips head screwdriver can be used.
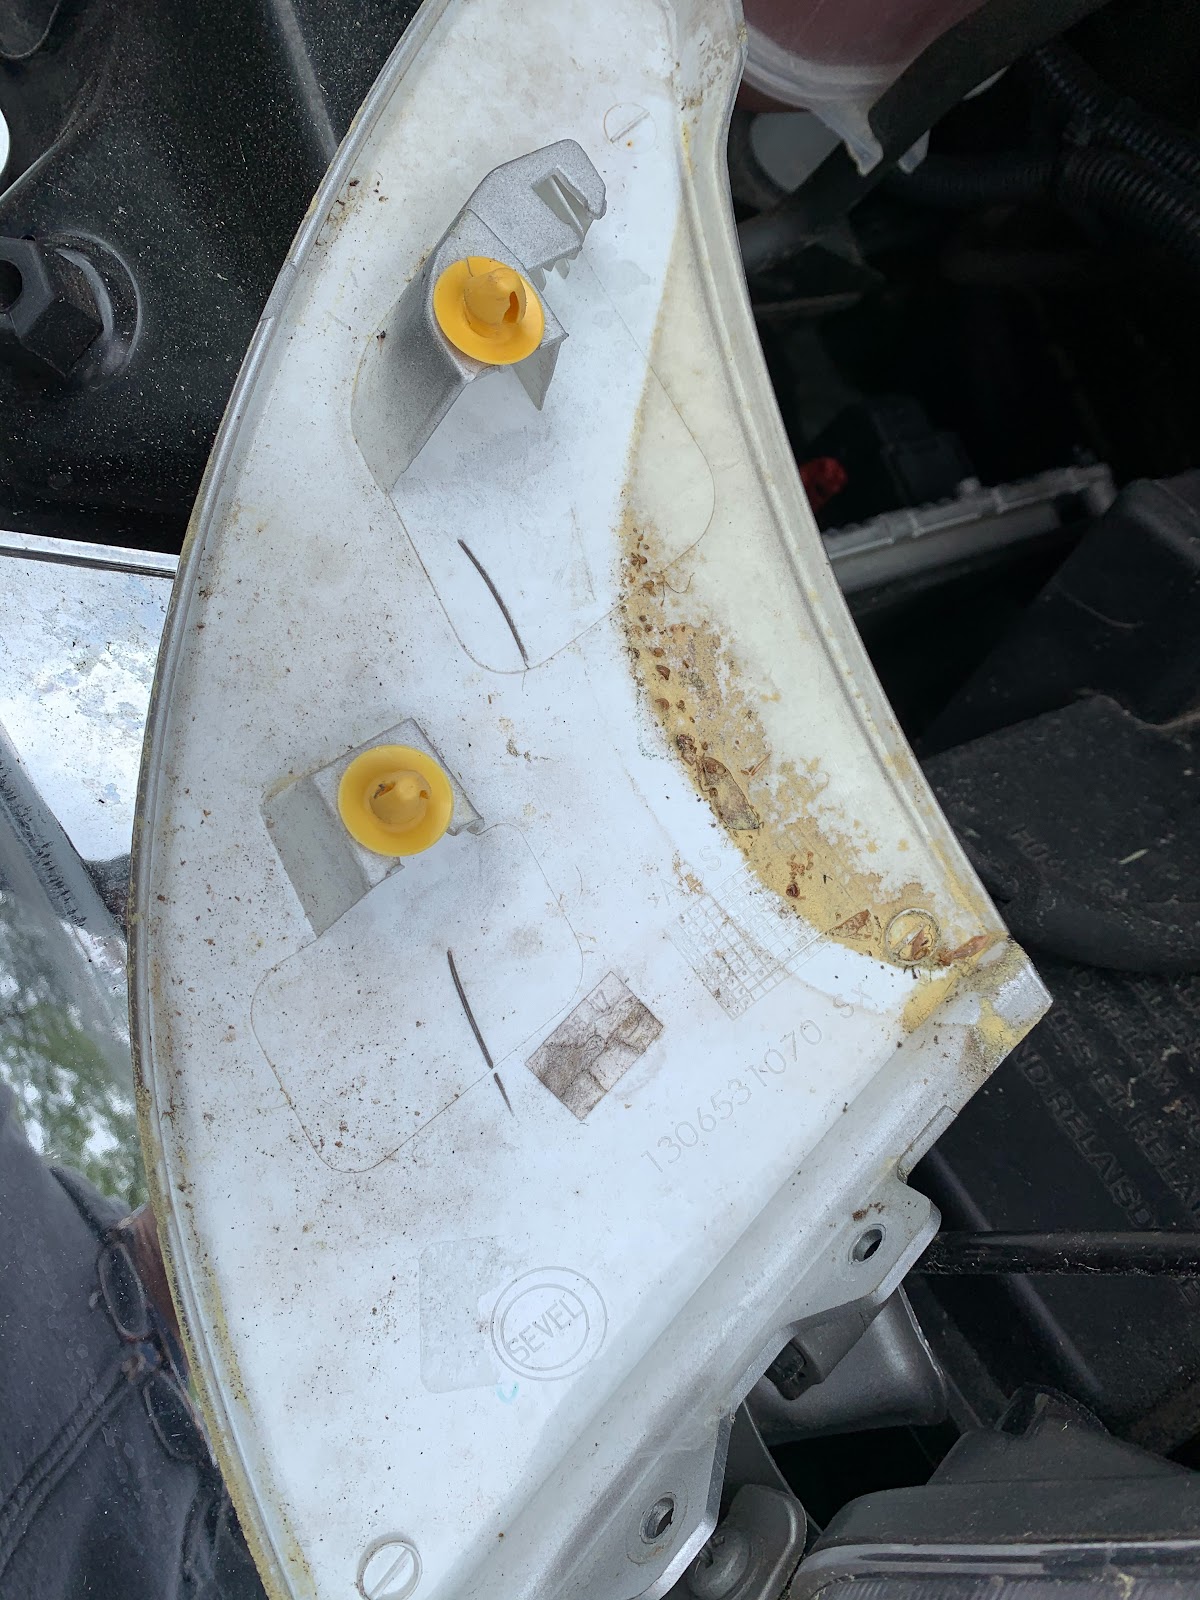
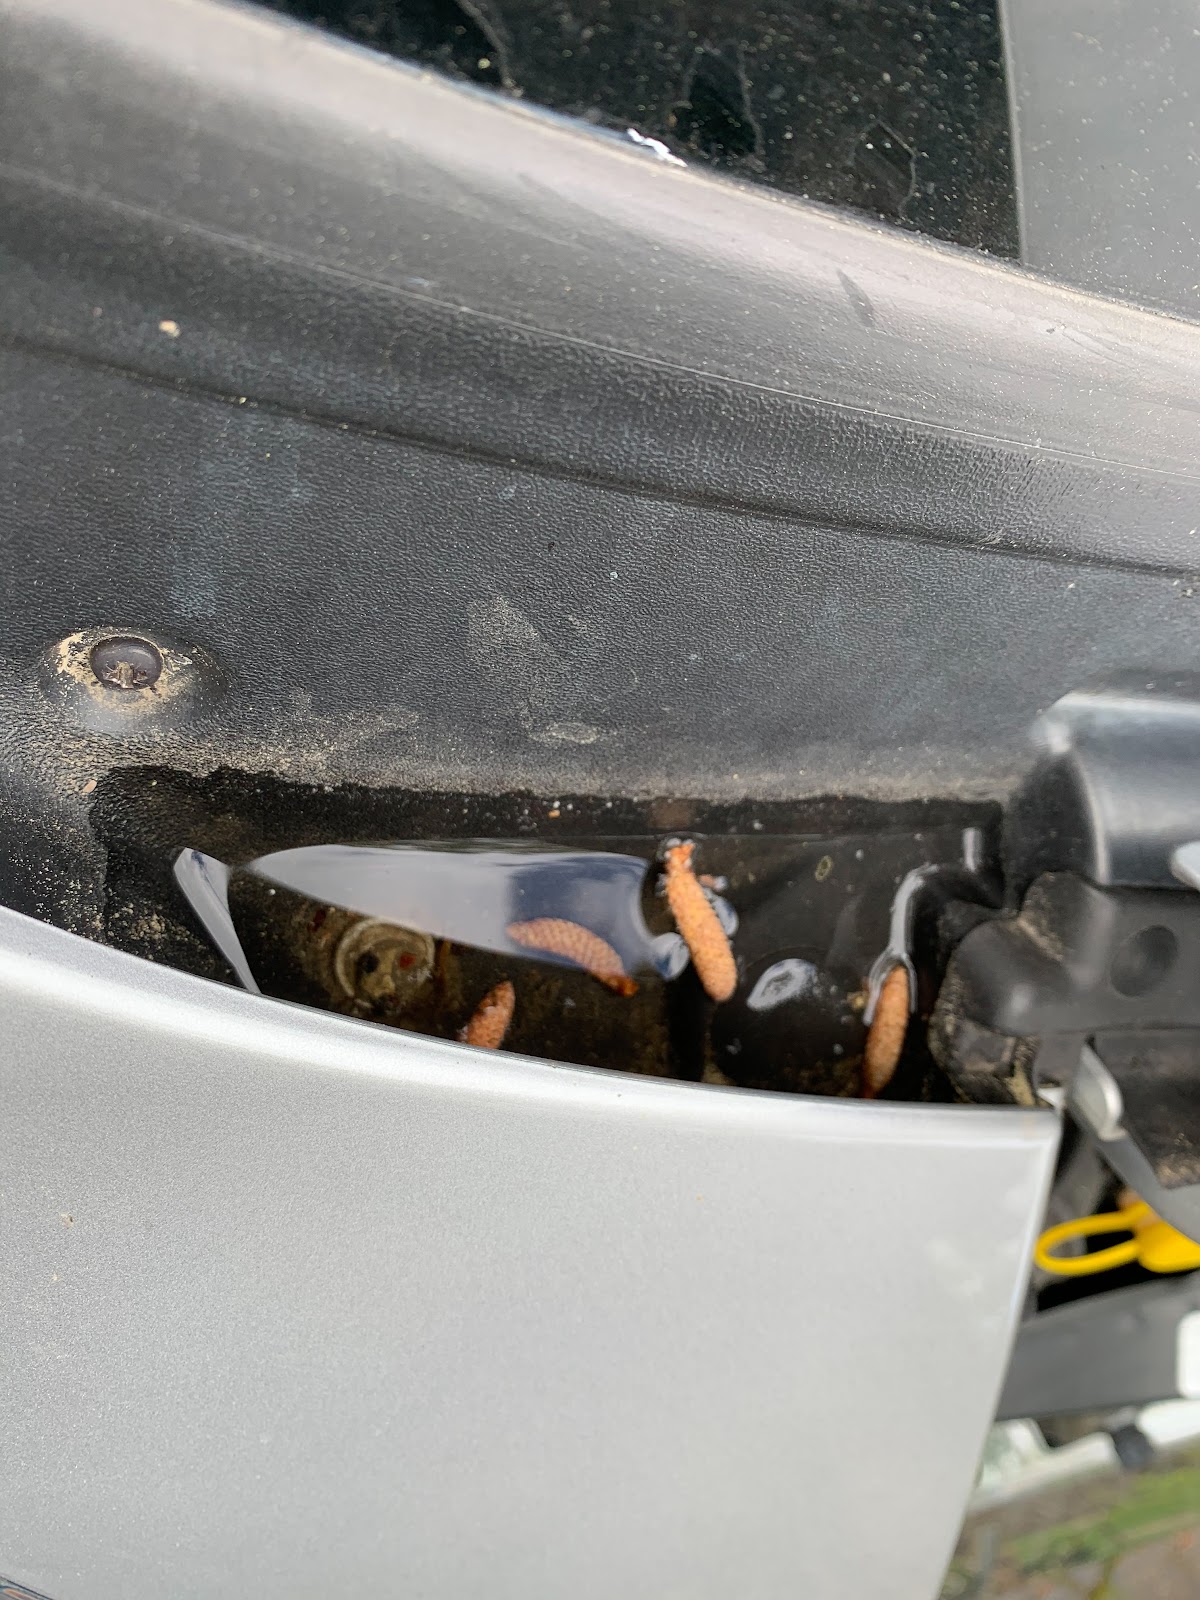
Pull up gently on the trim plate to release it. Here’s a view of the underside to show the two pins that hold it in place.
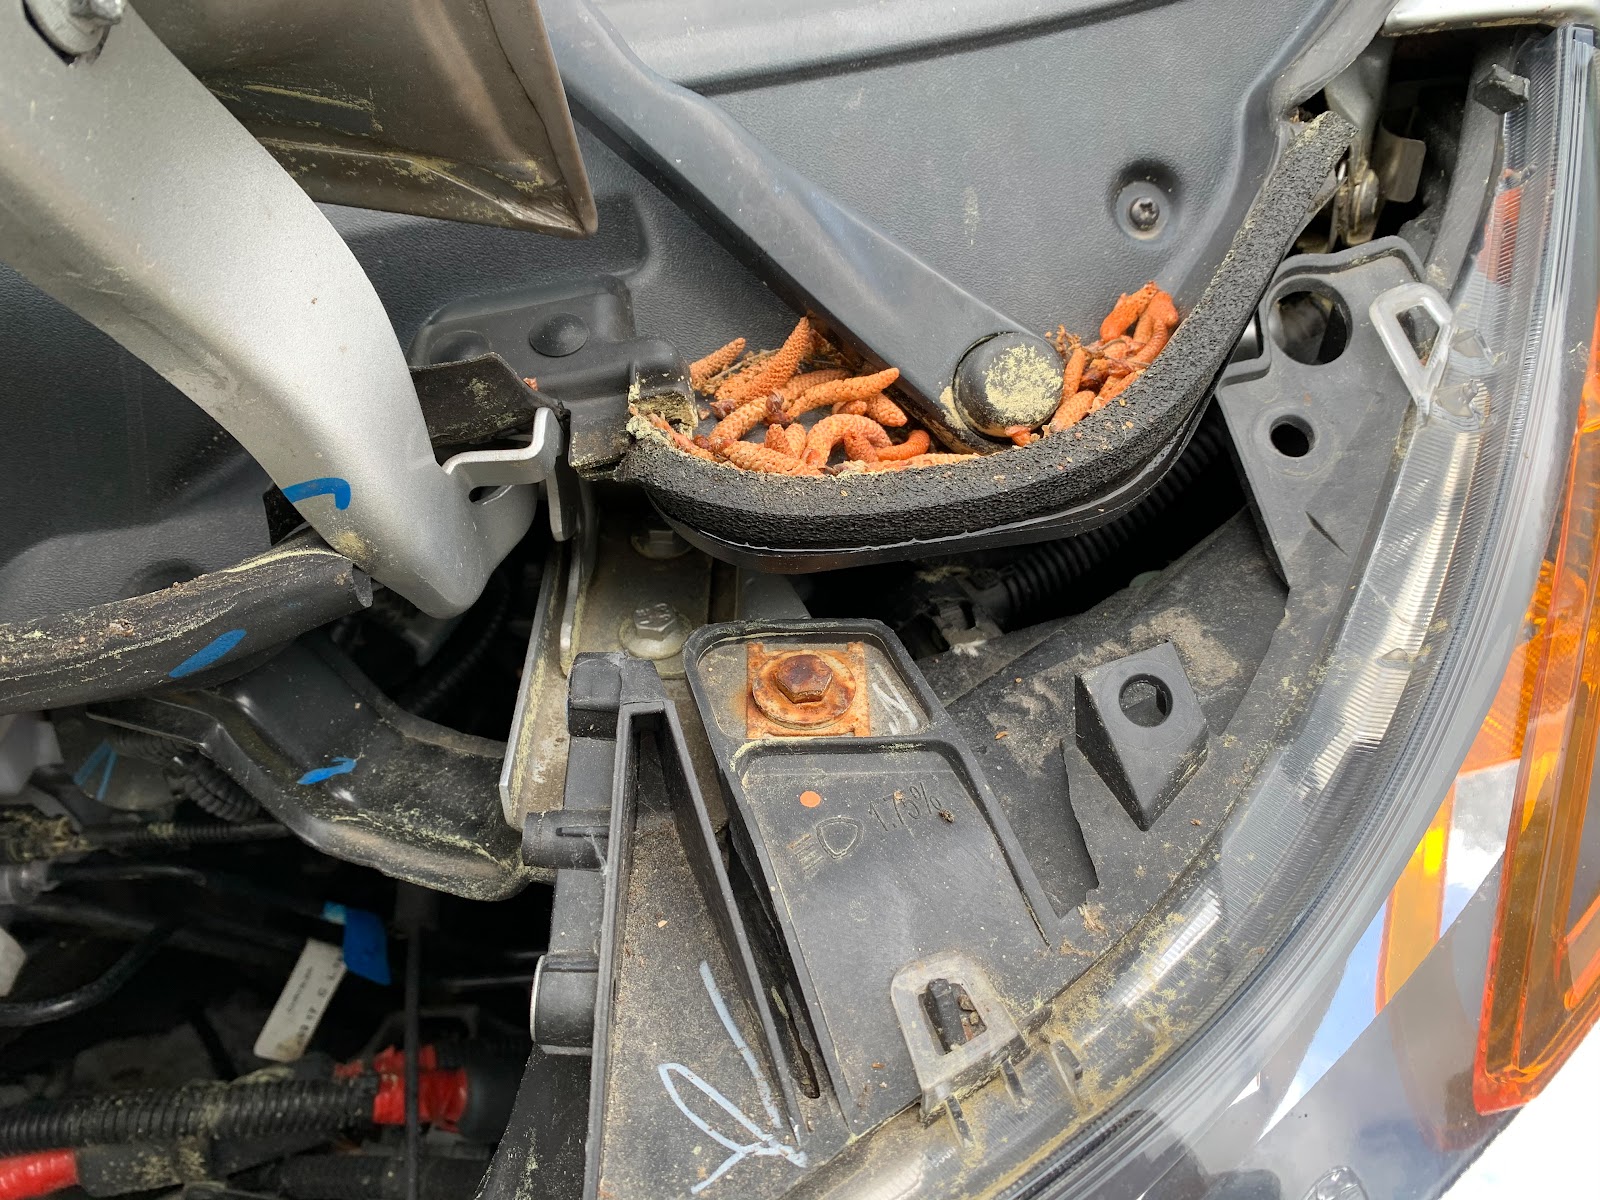
Here you can see the matching holes in the van. It also reveals the mess of pine “worms” that attack our van every spring. They are actually male pine cones.
Once you clear away the debris, insert the plastic string trimmer filament down through the hole and hose. Pull it back out and the drain should work as designed.
Clean up the area, pop the trim plate back on, reinsert the two knobs, and the project is done.
Leave a Reply