After seven years, our Thetford Aquamagic II toilet stopped holding water in the bowl. I tried cleaning and lubricating the seal, but that didn’t solve the issue. It was time to replace the seal.
Found a very helpful video by Mobile RV TechServices on YouTube aptly named:
Fix Leaking Aqua Magic II RV Toilet: Valve & Ball Seal Replacement
After watching the introduction, you can fast forward to 18:09 to watch him replace the Ball Seal. His video is far better than anything I could produce.
He did the replacement in a larger RV bathroom than the one contained on our 2018 Pleasure-Way Lexor camper van, so I’ll share what it was like in our smaller space.
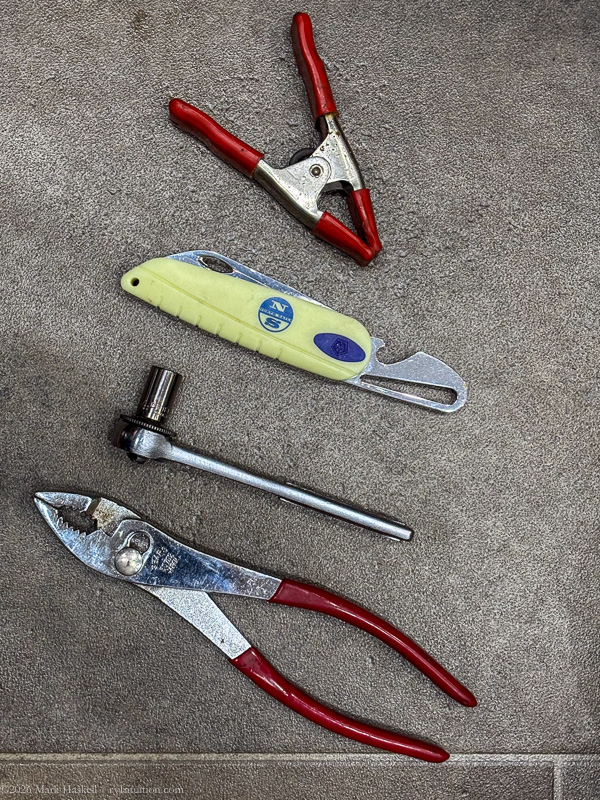
Tools:
•Spring Clamp
• Blunt Blade
• 3/8 socket on a short handle
• Pliers
• Gloves
• Paper Towels
• Big Trash Bag
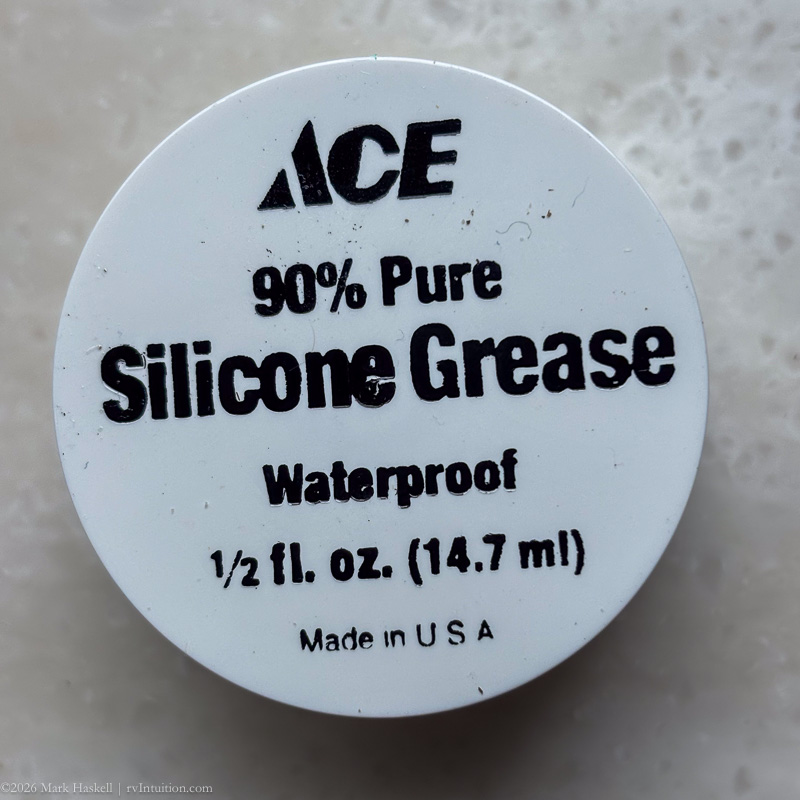
• Silicone Grease is used to clean and lubricate throughout the project
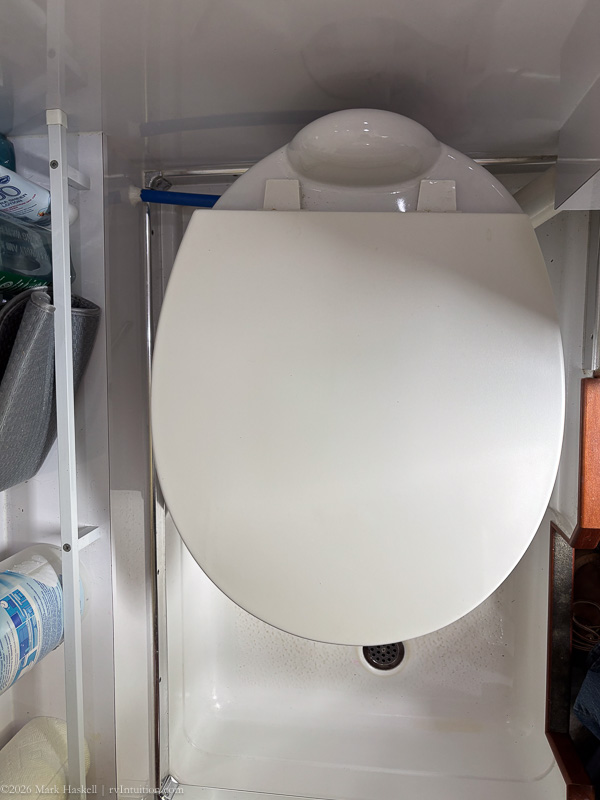
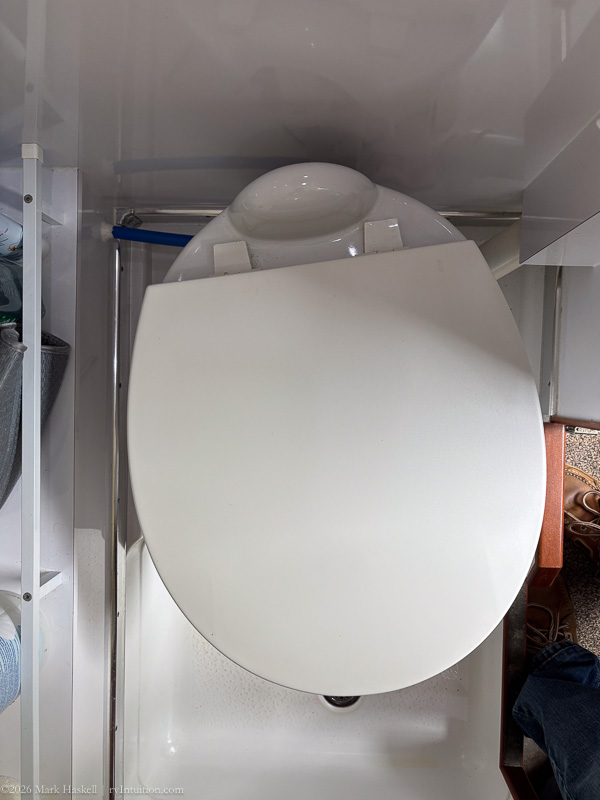
Removing the Bowl
Disconnecting the water hose was one of the hardest parts of the job. After turning off and draining the water, I used pliers to squeeze the clamp enough to get it off the barbed connection.
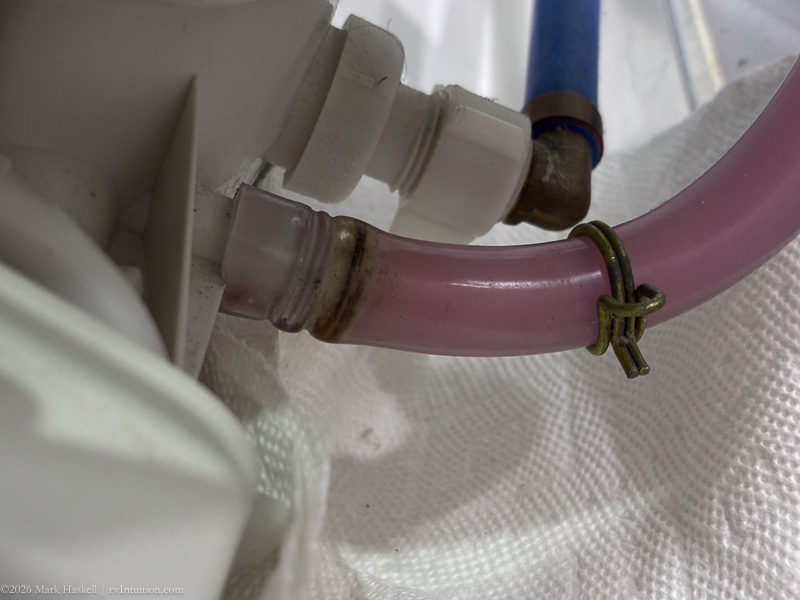
There is very little room in there, so I used the spring clamp to hold the hose clamp open while I slid it further up the hose.
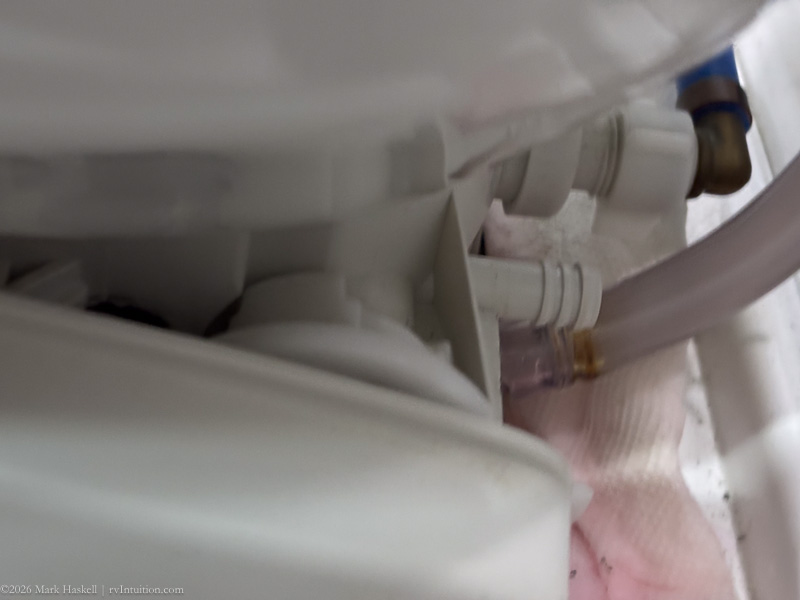
After setting paper towels down to catch the water, I tried to pull the hose off the barb by hand. It was well set, so had to use a blunt blade from my marlinspike knife to pry it off. A small automotive pry bar, if it fits, might be a better.
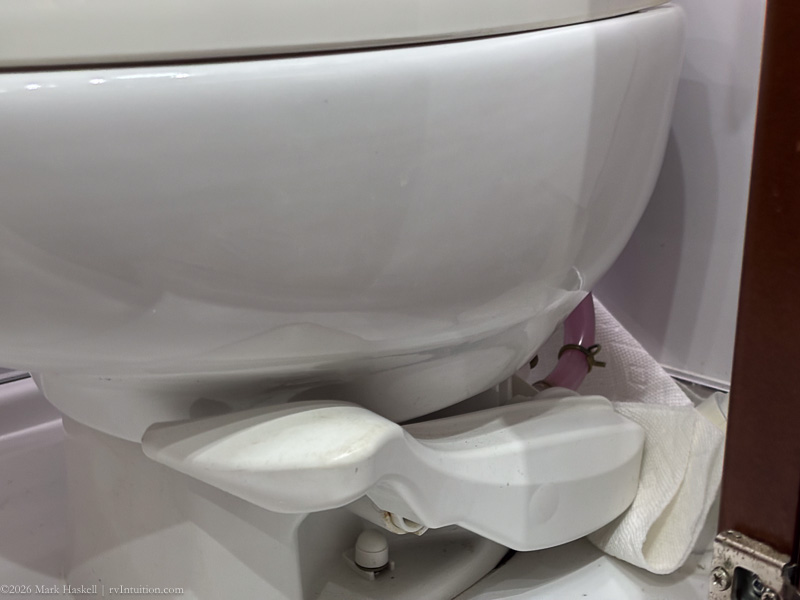
Once the water was disconnected, the two bolts that hold the bowl to the base needed to be removed. Unfortunately, I couldn’t really see them in our limited space, so had to do that by feel using the 3/8″ socket on a short handle. If I hadn’t seen the video, I probably wouldn’t have been able to know what to feel for.
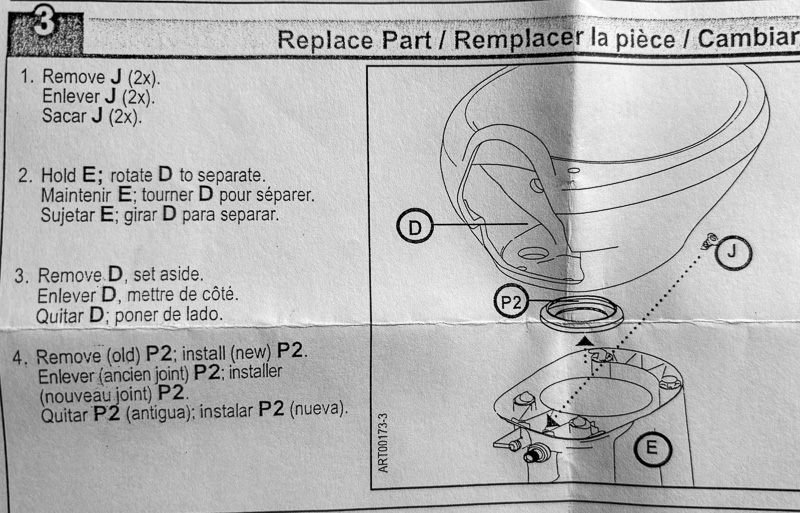
The instructions that came with the seal weren’t very helpful.
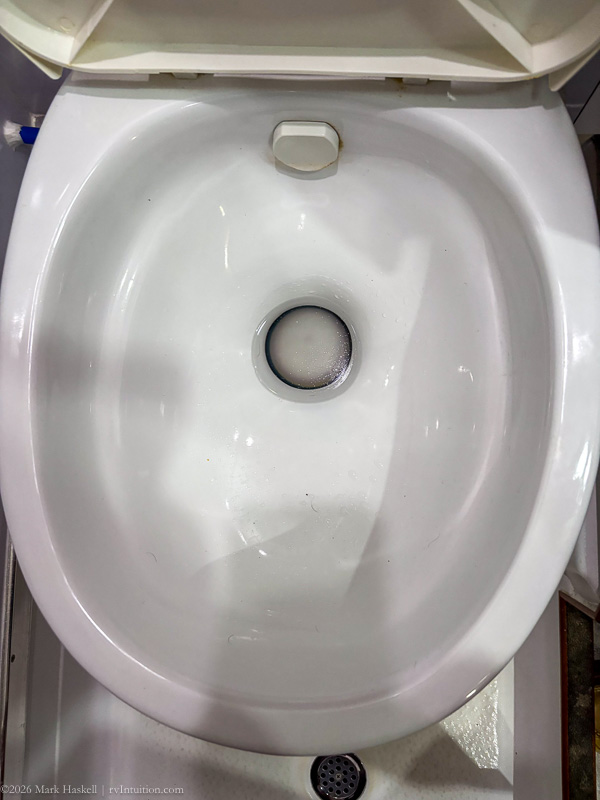
With the hose and bolts removed, I turned the bowl counter-clockwise to release it from the base. The china bowl was then carefully removed from the bathroom and gently placed in the plastic garbage bag.
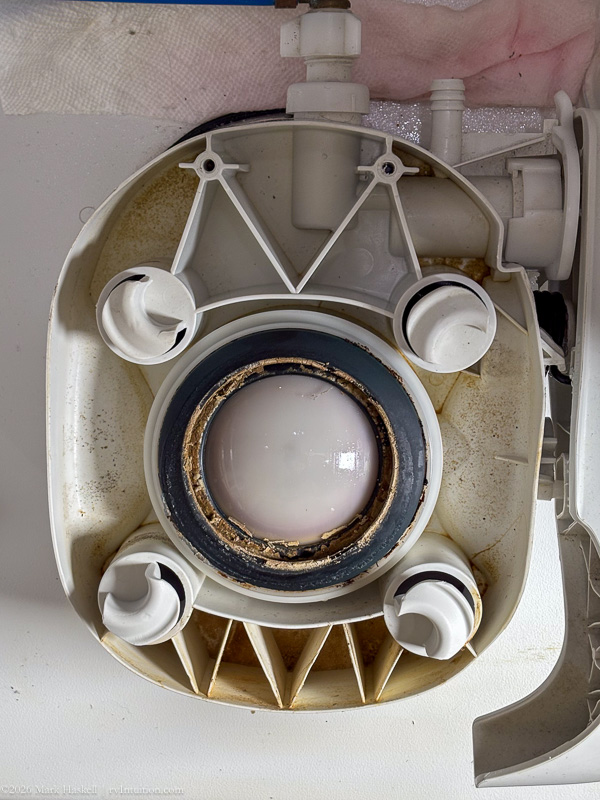
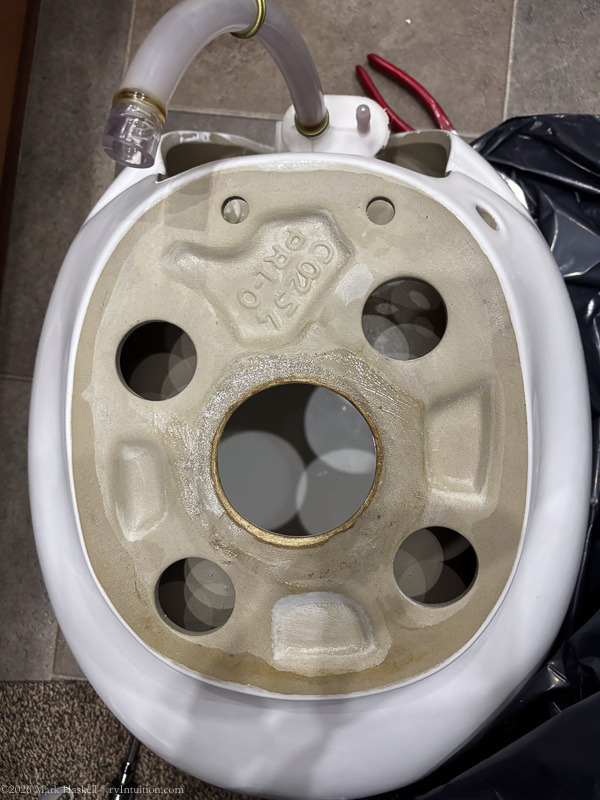
The four plastic tabs are what hold the china bowl to the plastic base.
The two bolt holes are at the top of the picture.
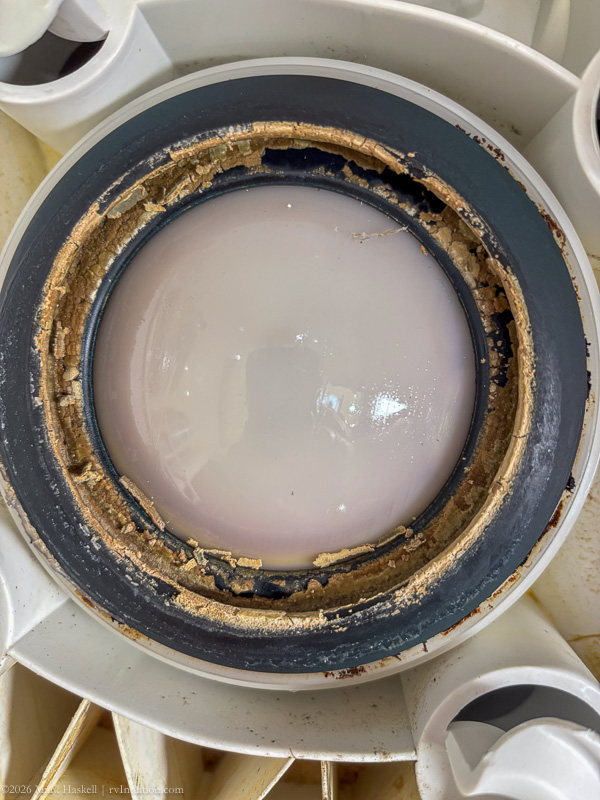
Calcification and other hard debris made it obvious why the seal no longer held water.
Cleaning
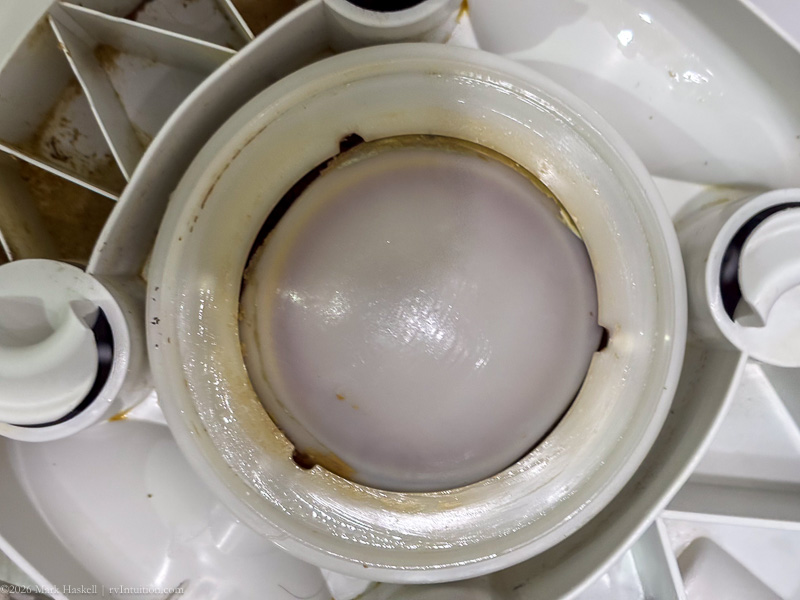
Removed the old seal and cleaned up the base using paper towels and silicone grease. I was careful not to use anything abrasive that would jeopardize seating the new seal.
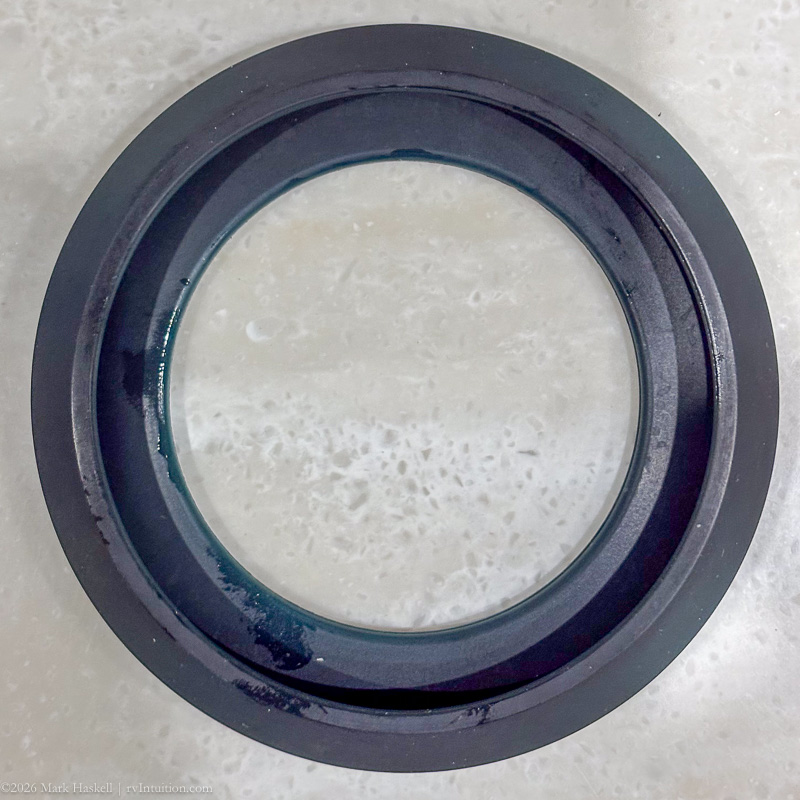
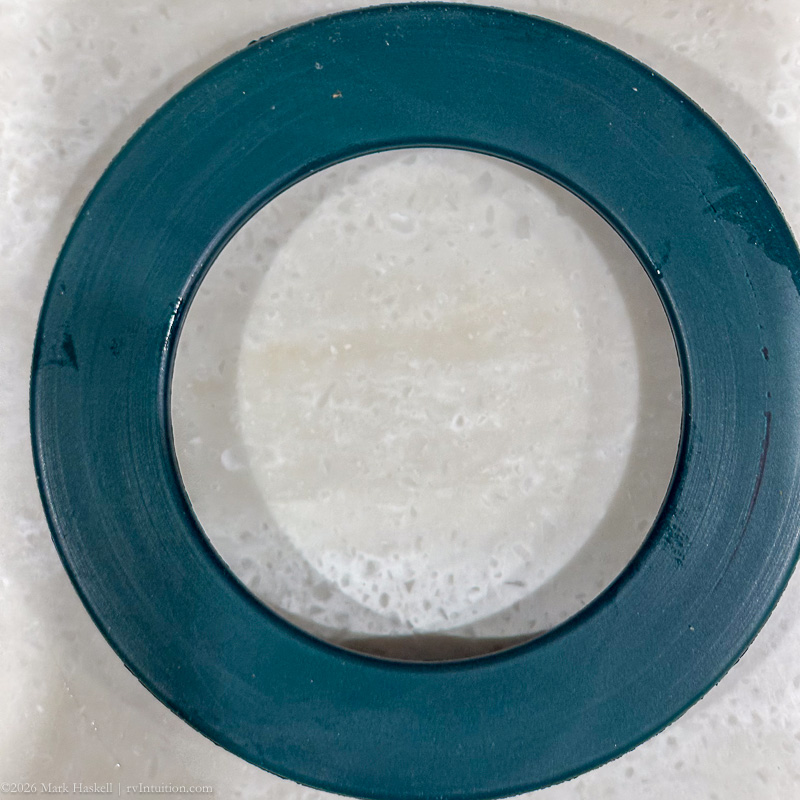
Here’s the new seal from both sides. It is Thetford part No. 34120. After coating the entire seal with silicone grease, the flat side goes against the base.
I used Lysol Wipes to clean out the nooks and crannies in the plastic base.
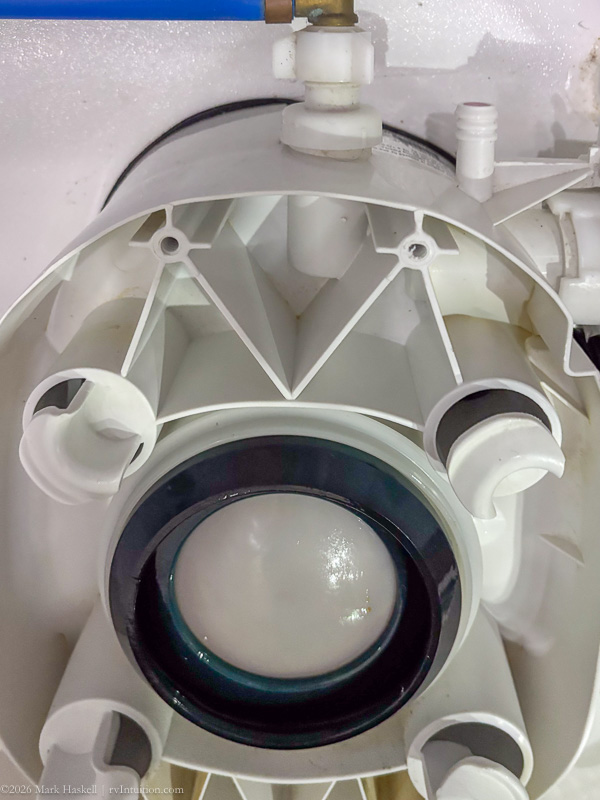
The cleaned up base looked much better with a new seal.
Next, I cleaned the bottom of the china bowl, again using silicone grease.
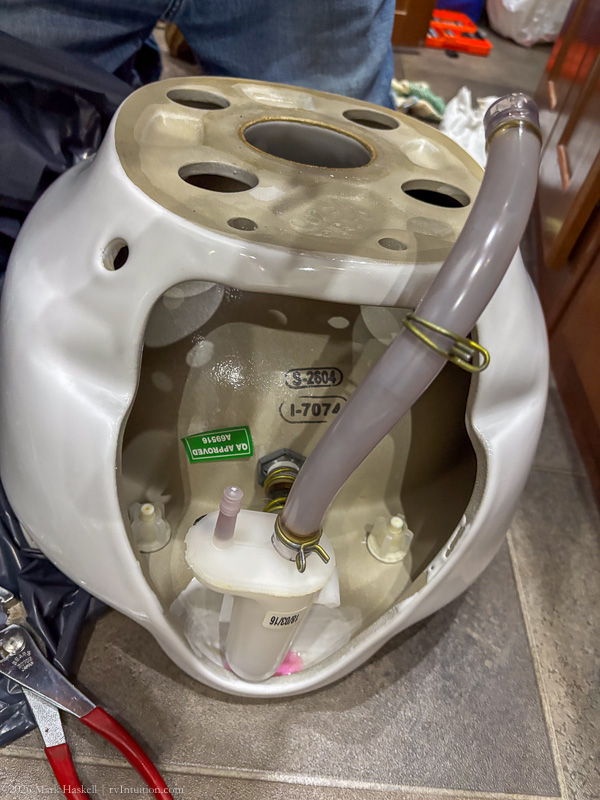
For reference, here’s the (upside down)back of the china section of the toilet that you can’t normally see.
Putting it Back Together
Finishing up the job, I mated the bowl with the four plastic latches and turning it slightly clockwise until the seal was centered in the toilet. You might need to move it in small increments to get the bolt holes aligned. The bolts were started by hand to avoid stripping the plastic holes in the base. Note that there are two washers on each bolt. The plastic washer should be against the china, while the metal washer is closest to the bolt head.
Finally, I reattached the water feed hose and moved the clamp back into position. It went back on much easier than it came off.
The project took me about three hours. After putting some water in the bowl and removing the trash, I went into the house for a hot shower followed by a cold beer.
Checked the next morning and water remained in the bowl!
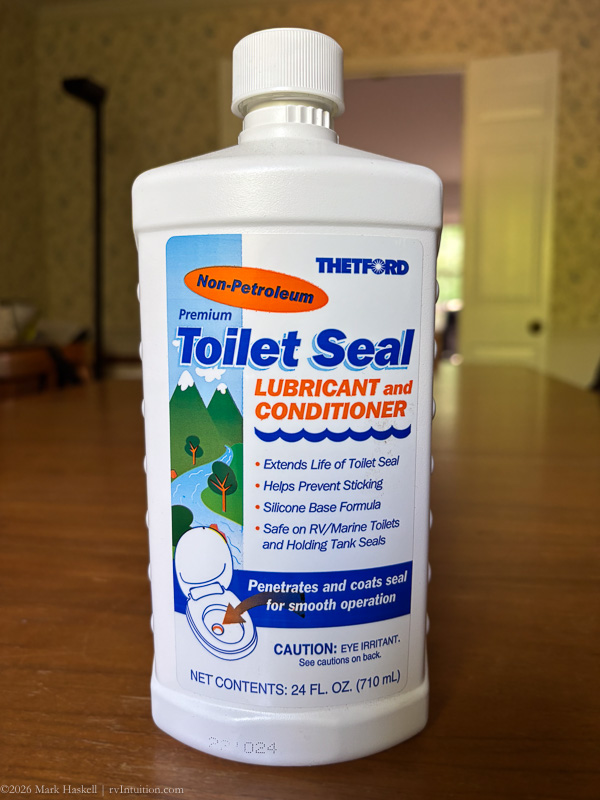
P.S. We put this conditioner in the bowl when we aren’t going to use the RV for an extended period of time.
Has anyone else changed their seal? Please leave a comment if you have any hints to make the job easier.
Leave a Reply